
How to Teach Carriage Driving with a Progressive Lesson Sequence
This article provides a progressive lesson framework for experienced equestrians and riding instructors transitioning to carriage driving instruction. It covers the three driving aids, essential safety protocols, and a structured arena-based sequence to help students master driving a horse-drawn carriage.
Updated:
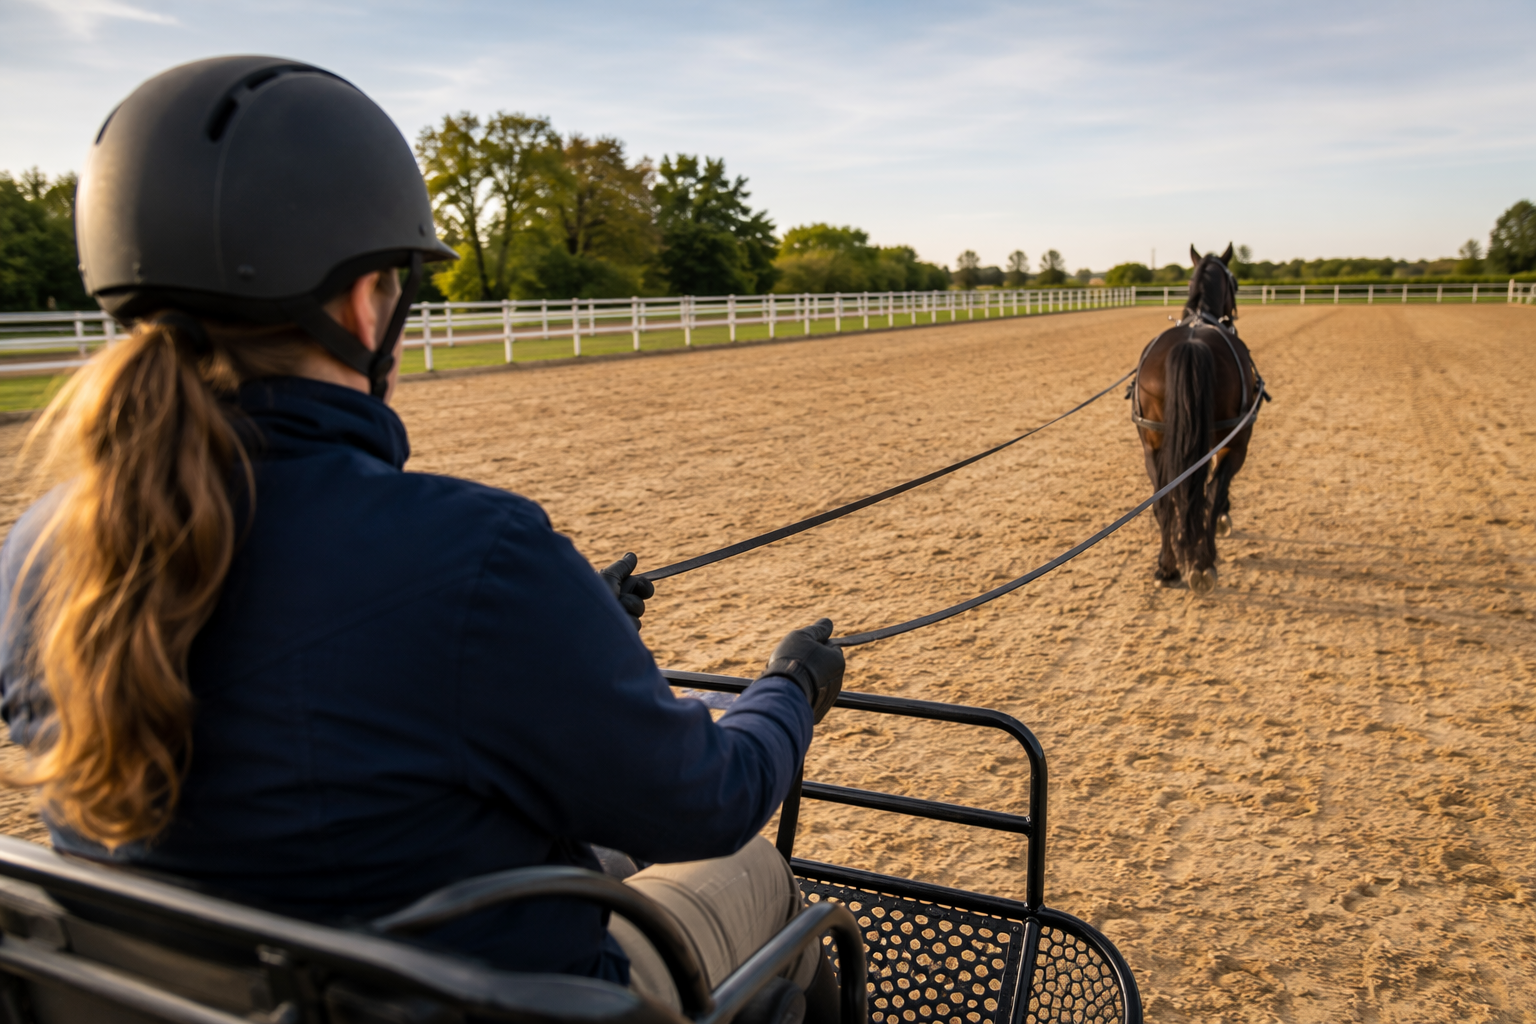
The first hard lesson in how to teach carriage driving is that a capable rider can become a beginner again in about three seconds. Put that rider in the carriage seat, ask for walk, and the familiar tools disappear: no calf to close, no pelvis to organize the stride, no quiet thigh to steady a wobble. The horse is several feet away, the feedback is delayed, and the only continuous physical connection runs through the lines.
That is why carriage driving instruction should not be treated as riding instruction with wheels attached. The student may know horses, grooming, turnout, and arena etiquette, but the teaching problem has changed. The instructor is now building voice discipline, whip accuracy, rein-line feel, and safety habits strong enough to survive excitement, distraction, and the student’s own riding reflexes.
This framework is about teaching the human driver. The horse must already be suitable, trained, conditioned, and correctly matched to the vehicle and setting before a beginner is put behind it. Horse preparation is its own subject; here, the question is how an instructor progresses a student from observation to controlled arena driving without pretending confidence is the same as readiness.
Start with the rupture, not the romance
A rider learning to drive is not an empty vessel. That is both useful and dangerous. Useful, because the student may understand horse behavior, pressure and release, grooming, tack care, and arena awareness. Dangerous, because the student may reach for aids that no longer exist.
The first teaching task is to name that change plainly. In riding, contact can be supported by the whole body. In driving, the hands are far more exposed. In riding, the leg can clarify forward, bend, and lateral intent. In driving, the whip must be introduced as a precise aid, not a punishment or decoration. In riding, a seat that follows well can save a poor moment. In driving, the seat mostly keeps the driver stable enough to use the real aids correctly.
There is no single dominant U.S. curriculum that every carriage driving instructor follows for teaching new drivers. The most useful teaching structure has to be assembled from expert first-lesson advice, three-aid communication models, and lesson-plan formats developed in highly controlled settings. That patchwork is not a weakness if the instructor keeps the order strict: safety first, observation before control, standstill practice before movement, arena reliability before road exposure.
Safety is the first lesson, not a warning label
Suzy Stafford’s first-lesson guidance is valuable because it does not begin with charm. It begins with a safety briefing before the student touches the equipment, then moves into an observation session in which the beginner rides along and watches what the driver does before taking control. Her four golden rules are blunt and teachable: the driver is the first person in the carriage and the last person out; never tie a horse while hitched; never remove the bridle while hitched; and never remove the reins from the bridle while hitched.[1]
Those rules should shape the lesson order. They are not trivia to recite at the start and forget once the student is smiling. They tell the instructor what must be supervised, what must be repeated, and which shortcuts are not negotiable.
- Before equipment handling: explain where the student may stand, who holds the horse, who gives instructions, and what stops the lesson.
- Before hitching: confirm the student understands the basic harness parts, vehicle balance, and the difference between watching and helping.
- Before mounting the carriage: assign the driver, assistant, and student roles so nobody improvises at the horse’s shoulder or wheel.
- Before movement: rehearse halt, walk on, rein handling, whip position, and the emergency instruction the student must obey immediately.
- Before independent driving: require the student to demonstrate calm handling at standstill and while walking under direct supervision.
Therapeutic carriage driving lesson plans are useful here because they tend to make sequence visible. The Lessons in TR template includes equipment education, discussion of harness parts and vehicle types, balancing the cart, rein handling practice at standstill, arena walk and turn work, and readiness assessment before moving toward road driving.[2] Even outside therapeutic instruction, that level of explicitness protects the beginner from being rushed past the parts they do not yet know how to judge.
Replace seat and leg with three teachable aids
The cleanest way to reorganize a rider’s instincts is to teach the three driving aids early: voice, whip, and lines. The Pony Bunch frames these as the core communication channels in driving, with voice often underused by riders, the whip functioning as the replacement for the leg, and the lines serving as the only constant physical connection to the horse.[3]
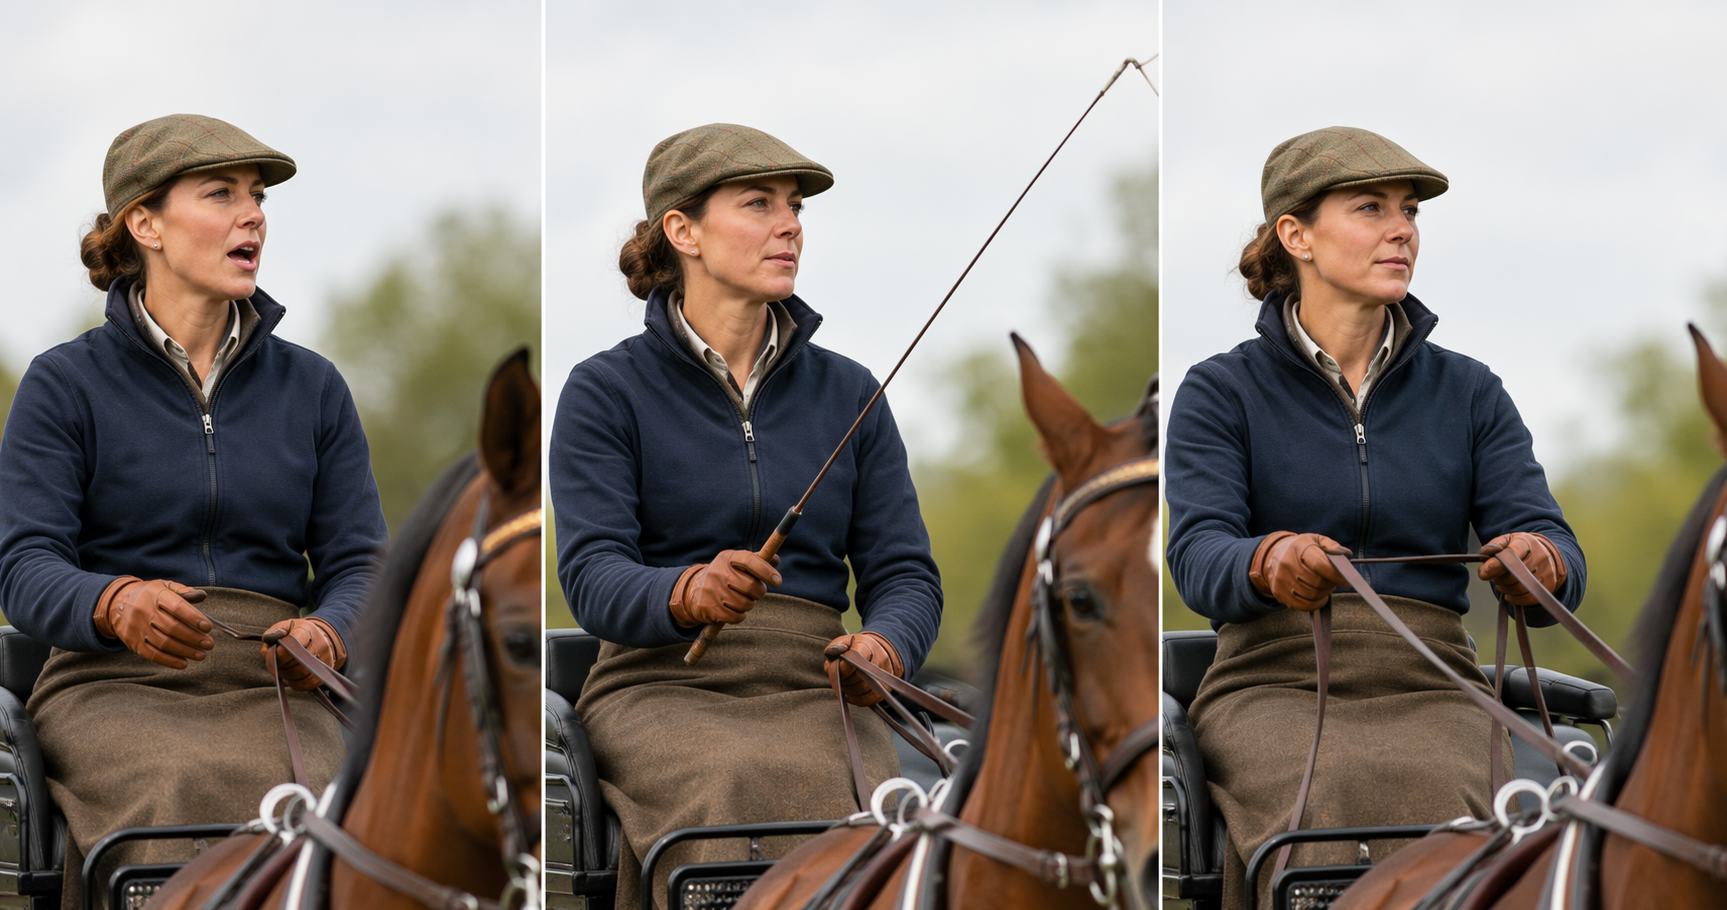
Voice is not background noise. It has to become deliberate, consistent, and timed. A rider who has spent years making nearly invisible aids may feel foolish speaking clearly, but the horse cannot feel the rider’s leg through the shafts. The instructor should teach the words, tone, timing, and silence around the command. If every transition is surrounded by chatter, the horse has to sort through static.
The whip is not a symbol of severity. It is the missing leg. That distinction matters because many kind, competent horse people either overuse it from anxiety or avoid it because they dislike what they think it represents. The student needs to learn where the whip is carried, how it is changed or adjusted without losing the lines, and how a light touch or indication can clarify forwardness or positioning.
The lines are the steady channel, but they should not be asked to do the jobs of all three aids. A beginner who is unsure of voice and whip will often start steering, slowing, balancing, and reassuring entirely with the hands. That is where a horse gets conflicting information and the lesson starts to feel heavier than it should.
| Driving aid | What the student must learn | Riding habit to watch |
|---|---|---|
| Voice | Use clear, consistent commands with purposeful timing | Waiting for the body or leg to say what the voice has not said |
| Whip | Carry and apply it as a precise replacement for the leg | Avoiding it entirely or using it only after the horse has already misunderstood |
| Lines | Maintain organized, elastic communication without doing every job through the hands | Assuming riding contact and driving contact feel identical |
A progressive lesson sequence for the arena
The early sequence should feel almost slow to a confident equestrian. That is fine. Speed is not the measure of good teaching here. The measure is whether the student can preserve order when the horse moves, the carriage rolls, and old habits try to take over.
| Stage | Main teaching purpose | Do not advance until |
|---|---|---|
| Safety briefing | Establish roles, rules, and stop conditions | The student can repeat the non-negotiables and follow directions without improvising |
| Observation ride | Let the student watch the driver manage horse, lines, whip, voice, and space | The student can describe what the driver is doing and why |
| Equipment orientation | Connect harness, vehicle, balance, and safety consequences | The student can identify the parts being handled and stay in the assigned position |
| Standstill line handling | Build hand organization before motion adds pressure | The student can hold, shorten, lengthen, and organize the lines calmly |
| Walk and halt | Coordinate voice, lines, and instructor timing | The student can ask, wait, and finish the transition without grabbing |
| Turns and large figures | Teach steering, bend-like intention, and recovery of line organization | The student can turn without collapsing into one rein or forgetting the outside line |
| Cones and simple patterns | Give accuracy a purpose without adding speed | The student can plan ahead and correct quietly |
| Readiness review | Decide whether the student remains in the arena or is prepared for a more open setting | The instructor, horse, turnout, and student judgment are all ready |
1. Safety briefing and role assignment
A first carriage driving lesson should open with the student on the ground, listening. Explain the horse’s position, the vehicle’s blind spots, the safest places to stand, and who is allowed to give instructions. If there is a header, groom, assistant, or second instructor, name that person’s job before the horse is brought into the teaching moment.
The student should also know the lesson’s stop conditions. A loose line, a confused instruction, a horse that becomes unsettled, a student who freezes, or an equipment concern should all end the exercise calmly and early. This is not timidity. It is how the instructor keeps small mistakes from becoming large ones.
2. Observation before control
Stafford recommends that a first-timer begin by riding along and observing before taking the reins.[1] That advice is especially important for riders, because they may otherwise assume they already understand the rhythm of the job. During the observation ride, ask the student to watch where the driver looks before a turn, when the voice cue happens, how little the hands move in a good halt, and where the whip rests when it is not being used.
Do not make this a passive carriage ride. Give the student one thing to track at a time. First voice. Then hands. Then whip. Then traffic within the arena. A beginner cannot absorb every detail at once, and a rider will often watch the horse’s neck and miss the driver’s preparation.
3. Equipment orientation with consequences attached
Equipment education should not become a vocabulary quiz. The student needs enough harness and vehicle understanding to behave safely and notice when something looks wrong. Lessons in TR includes harness parts, vehicle types, and cart balance in its lesson structure.[2] For a new able-bodied student, the same material can be narrowed to the turnout actually in front of them.
- Show the bridle and reins in the context of the rule that they do not come off while the horse is hitched.
- Show the shafts, traces, breeching, and holdback function in relation to stopping, backing, and downhill control.
- Show the wheels and carriage entry point so the student understands why mounting and dismounting are controlled.
- Discuss vehicle balance only as far as the student needs for this turnout and this lesson.
The important phrase is “in relation to.” A student remembers equipment better when each part is tied to a consequence: this keeps the vehicle from running up on the horse, this helps the horse hold the load, this is why we do not unbuckle casually, this is why you wait for instruction.
4. Standstill rein handling
Before the horse walks on, the student should handle the lines at standstill. This is the place to teach how the lines enter the hands, how to shorten without dropping organization, how to lengthen without throwing contact away, and how to keep the whip from becoming either a hazard or an afterthought.
For riders, this is often the first awkward moment. They may have excellent hands under saddle and still fumble when the lines are longer, lower, and connected to a horse they cannot influence with the rest of the body. Let the awkwardness appear while nothing is moving.
5. Walk and halt under direct supervision
The first moving exercise should be simple: walk on, travel straight, halt. The instructor’s job is not to see how quickly the student can drive alone. It is to see whether the student can coordinate the three aids without panic or clutter.
A useful walk-on sequence is quiet preparation, clear voice cue, appropriate line allowance, and then correction only if needed. A useful halt sequence is preparation through the body and hands, voice if that is part of the horse’s training, a measured closing of the lines, and a finish that releases enough for the horse to stand without being held hostage.
At this stage, the instructor should be close enough to intervene and plain enough to prevent negotiation. “Soften the left line,” “say walk on once,” and “put the whip back to neutral” are better than long explanations while the horse is already responding.
6. Turns, large figures, and line recovery
Turning exposes the rider’s old habits. Without a leg to support the outside, many beginners pull the inside line and let the outside line disappear. The result may be an overbent neck, a drifting shoulder, or a turn that arrives late because the carriage takes time and space to follow.
Start with generous arena figures: large circles, shallow changes of direction, wide turns across the school. Teach the student to look early, prepare the voice if needed, indicate with the appropriate line, preserve the outside line, and then recover even contact after the turn. The recovery matters. Many beginners survive the turn and then spend the next ten meters reorganizing what should have been restored in two.
7. Cones and simple driven patterns
Cones are useful long before they are competitive. Stafford identifies a progression that can include walk work, cones courses, and driven dressage patterns.[1] For teaching, cones give the beginner a reason to plan a line, notice the width of the vehicle, and feel how early a correction has to happen when the horse is out in front rather than under the rider’s seat.
Keep the first cone exercises dull by competitive standards. Wide settings, walk only, simple approaches, plenty of room to turn. Accuracy should increase before speed or complexity. A student who cannot keep the lines organized through two easy cones is not helped by being sent through six.
Simple driven patterns can serve the same purpose. A centerline, a halt at a marker, a large circle, and a change of rein show whether the student can prepare, execute, and recover. The point is not to make the first-time driver feel like a competitor. The point is to make steering and transitions observable.
Troubleshooting the rider who is now a driver
The most revealing problems appear once the carriage is moving. They are rarely signs that the student is careless. More often, they are signs that the student’s riding education is trying to solve a driving problem with the wrong tools.
The voice disappears
Riders who are used to quiet body aids may whisper, repeat commands nervously, or forget to speak until after pulling on the lines. Since The Pony Bunch specifically identifies voice as an often-underused aid for riders transitioning to driving, instructors should treat voice as a skill to practice, not a personality trait the student either has or lacks.[3]
Give the student a fixed vocabulary for the horse in front of them. Practice the command once at standstill, once with the instructor driving, and then once with the student holding the lines. Correct timing before volume. A loud late cue is still late.
The hands become too busy
Busy hands often come from a reasonable fear: the student knows the horse is farther away and wants to stay connected. The correction is not to tell the student to “be softer” in a vague way. Give a task the hands can perform: maintain even line length through the long side, make one clear adjustment before the corner, then return to neutral.
If the student is using the lines for forward, steering, balance, and reassurance all at once, go back to the three aids. Ask which job belongs to the voice, which job belongs to the whip, and which job truly belongs to the lines in that moment.
The whip is either avoided or overexplained
Many good horse people need permission to use the whip correctly. Others need boundaries so it does not become random punctuation. Teach the neutral carry first. Then teach a small, specific use tied to a clear driving intention. The student should know where the whip is, why it is there, and when it returns to quiet.
Avoid speeches while the horse is drifting or losing impulsion. Stop, reset, demonstrate if needed, and let the student try again with one correction in mind.
Contact is confused with riding contact
Driving contact is not identical to riding contact, because the rest of the aid system is different. A rider may try to create security in the hand that used to come from the whole body. The instructor has to explain what the lines are for in the current exercise: not collection in the abstract, not prettiness, but communication the horse can understand while pulling a vehicle.
This is where standstill practice and slow arena work pay off. The student has already felt organized lines before motion. The instructor can return to that reference instead of inventing a new explanation at every corner.
When to stay in the arena
Road driving is not the reward for surviving a few arena laps. It adds variables the beginner cannot control: open space, footing changes, traffic, dogs, bicycles, noise, narrow margins, and longer consequences if something unravels. Lessons in TR treats readiness assessment as a condition before road driving, which is the right instinct even when the student is not in a therapeutic program.[2]
A student should remain in the arena if they still need frequent reminders to use the voice, cannot manage the whip without losing line organization, overuses the hands in every transition, forgets safety rules during hitching or unhitching, or becomes task-focused enough to stop noticing the horse’s emotional state.
Readiness is broader than steering. The instructor should be watching whether the student waits for directions, respects the sequence, notices when something feels wrong, and accepts a slower progression without treating it as failure. A cautious student can become a good driver. A hurried student can make a well-trained turnout unsafe.
Where certification and horse preparation fit
This lesson sequence is a teaching framework, not a credential. Instructors who want formal recognition, insurance-aligned standards, therapeutic driving qualifications, or discipline-specific assessment should look to the relevant organizations for their region and purpose, such as PATH Intl, CHA, or the British Driving Society. A progressive article can organize practice; it cannot certify competence.
The horse side also deserves its own boundary. Resources on pre-harness preparation and step-by-step carriage horse training can help instructors think about suitability, but they should not be folded casually into a beginner-driver lesson. A green driver and a green horse are not an educational pairing. The student’s progression belongs behind a horse and turnout that are already appropriate for the work being asked.
What progress looks like
A beginning driver is progressing when the lesson becomes quieter without becoming vague. The student can state and follow the hitching and unhitching rules. They can sit in the carriage without grabbing at the lines for balance. They can use the voice on purpose, carry the whip as an aid, and maintain line contact that is organized enough to steer, halt, and recover.
In the arena, that progress looks modest: straight walk, reliable halt, wide turns, simple cone lines, a pattern that does not fall apart after the first mistake. It also looks like judgment. The student does not argue to leave the arena before the horse, instructor, vehicle, and driver are all ready. That restraint is not a lack of ambition. In carriage driving, it is part of the skill being taught.
References
- Five Things to Know About Your First Carriage Driving Lesson, US Equestrian.
- Therapeutic Carriage Driving Lesson Plans, Lessons in TR, June 11, 2014.
- Communicating With Your Driving Horse: The Three Aids, The Pony Bunch, January 18, 2025.
Comments
Join the discussion with an anonymous comment.