
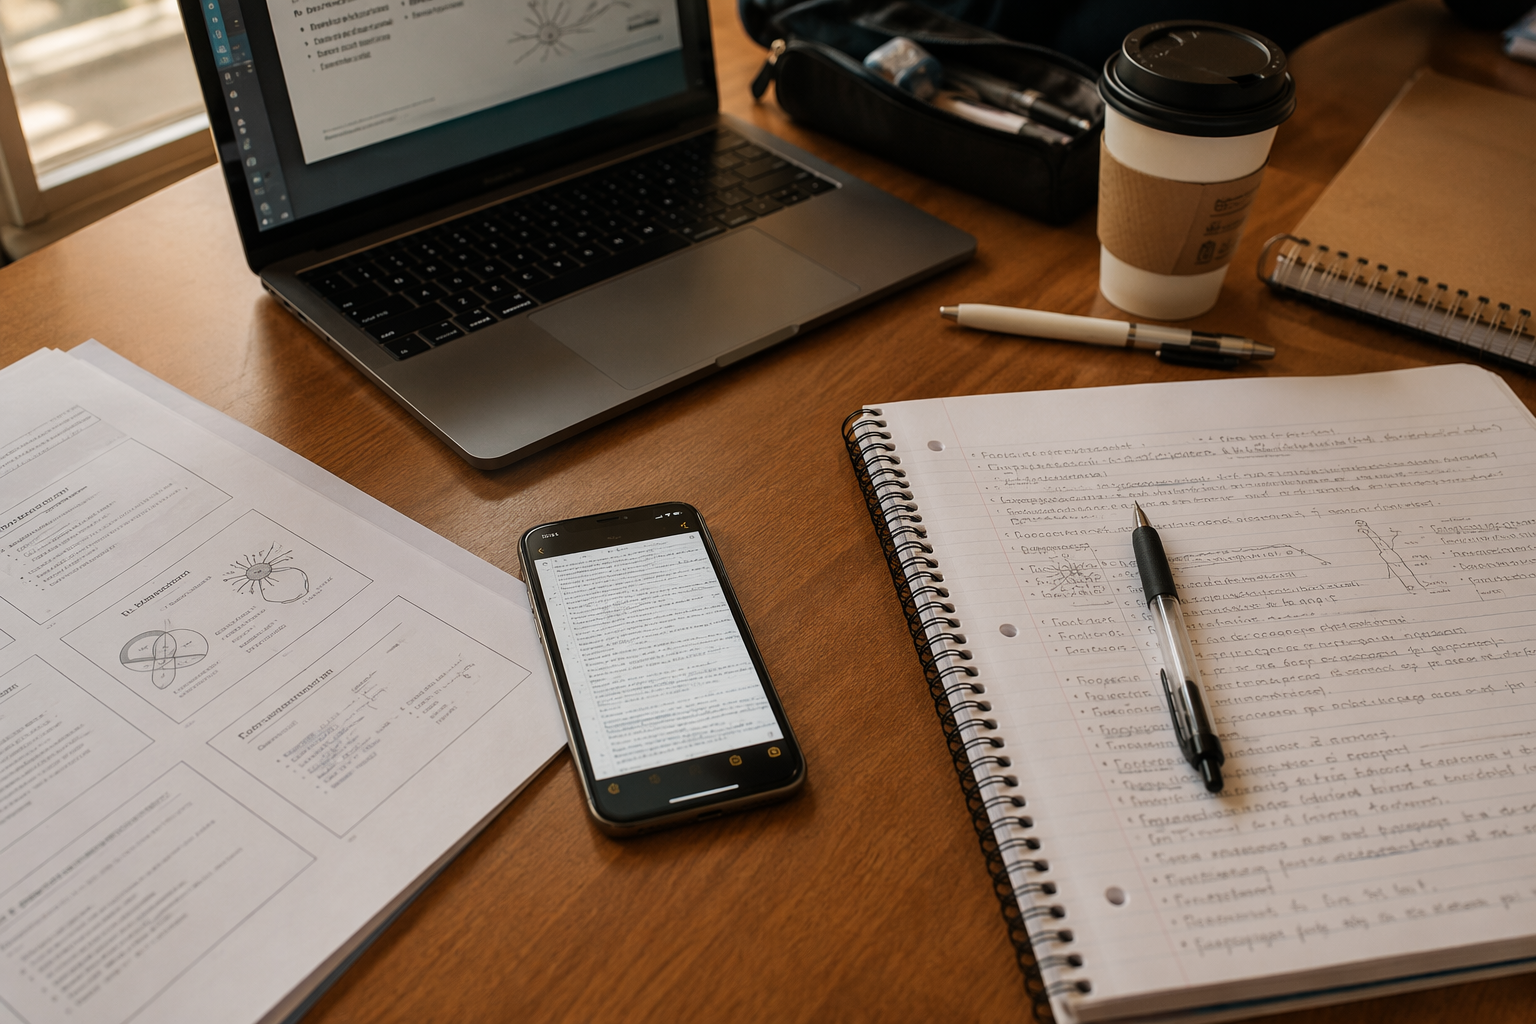
How to Use Your iPhone Camera to Capture Notes as a Student
Learn how to use your iPhone's built-in camera and Notes app to digitize lecture slides, whiteboards, handwritten notes, and handouts — without buying extra hardware or software. This guide covers Scan Documents, Live Text, and photography best practices, with honest accuracy expectations for different handwriting styles.
Updated:
You leave class with three different problems in your bag: a printed handout, a whiteboard photo taken from the third row, and a slide you caught two seconds before the professor moved on. The cleanest student workflow is not buying a scanner. It is using the iPhone camera for capturing notes in the right mode for each material, then saving everything somewhere you can actually find before the exam.
For most students, the built-in Camera and Notes apps are enough. Notes can scan documents into a PDF, capture text directly into a note, and let you search captured text later. Live Text can recognize printed and handwritten text from the camera viewfinder or from existing photos, but only on supported devices: iPhone XS or newer running iOS 15 or later. Apple says Live Text works across about 25 languages, so it is useful, but it is not universal across every iPhone or every handwriting style.[1]
Use the Right Capture Mode First
The biggest mistake is treating every class material like a normal photo. A snapshot is fine for a quick reminder, but it is a weak long-term study file: the page may be tilted, the edges are messy, and the image gets buried between screenshots and food photos. Start by choosing the capture method before you tap the shutter.
| Class material | Best iPhone method | What you get |
|---|---|---|
| Printed handouts, worksheets, syllabi, lab sheets | Notes > Scan Documents | A cleaned-up multi-page PDF saved inside a note |
| Book pages or slides where you need the words | Live Text or Notes > Scan Text | Selectable text you can paste into notes |
| Whiteboards and lecture boards | Camera photo, then organize in Notes or Files | A visual record that may be searchable if text is clear |
| Handwritten notes | Scan Documents for reference; Live Text only for neat passages | Searchable images in some cases, but not guaranteed clean transcription |
That table does more for your study system than another app icon. It keeps the handout from becoming a crooked photo, keeps the slide from becoming a retyping project, and keeps handwriting expectations where they belong: helpful when it works, not a promise.
Scan Printed Handouts in Notes
For printed pages, use Notes’ Scan Documents feature instead of the regular Camera app. Apple’s Notes scanner detects document edges, captures pages, lets you adjust the scan, and saves the result as a document inside the note.[2] Wirecutter’s 2026 scanner-app testing puts the basic hardware question bluntly: “every modern smartphone camera is perfectly capable of snapping clear scans of documents in seconds.”[3] The difference is not whether the iPhone camera is good enough. It is whether you use it like a scanner.
Open Notes, create a new note for the class or topic, tap the attachment or camera control, then choose Scan Documents. Hold the phone above the page and let the yellow outline find the edges. If Auto mode is on, Notes can capture the page when it recognizes the document; if the lighting is uneven or the desk is cluttered, switch to manual capture and tap the shutter yourself. After each page, keep scanning until the worksheet, packet, or reading handout is complete, then save the scan into the note.[2]

A few small setup choices matter more than students usually expect. Put white paper on a darker surface so the scanner can see the page boundary. Clean the lens before scanning a stack of pages. Hold the phone parallel to the paper instead of leaning over one corner. Use side light when you can; ZDNET recommends lighting from about a 45-degree angle to reduce glare, and also emphasizes contrast, alignment, and a clean lens for clearer iPhone scans.[4]
On current iOS versions, including iOS 26, the Scan Documents interface includes controls such as flash and filters, which can help when classroom lighting makes a page look gray or glossy. Older iOS versions may show a simpler scanner interface, but the basic routine is the same: frame the page, capture it flat, adjust corners if needed, and save the scan as one document rather than a loose group of images.[2]
Make Multi-Page Scans Usable Later
A scanned packet is only useful if Future You can tell what it is. Name the note something boring and specific: “BIO 102 enzyme worksheet,” “US History Reconstruction handout,” or “Calc review packet ch 4.” If the handout belongs with lecture notes from the same day, put the scan at the top of that day’s note and type two or three keywords underneath it. That extra line can save you from opening five similar PDFs the night before a quiz.
If the scan is for a class where pages get reused, such as lab, language, math, or test prep, keep one note per unit rather than one note per random scan. Notes works best when the container matches the way you study: by chapter, unit, exam, or project. A perfect scan in the wrong place still becomes lost material.
Use Live Text When You Need Words, Not Just a Picture
Live Text is the feature to use when the goal is extracting words. If a professor leaves a slide up long enough, point the camera at it and use Live Text to select the visible text. If you already took the photo, open it later and select text from the image. In Notes, Apple also supports Scan Text, which lets you use the camera to insert recognized text directly into a note instead of saving only an image.[1][2]
This is useful for short, clean passages: a definition on a slide, a due date on a printed assignment sheet, a formula description from a textbook page, or a few lines from a handout you want to quote in your notes. It is less useful when the source is moving, far away, partly blocked, or covered in handwriting that only the original writer can decode.
If you are using an older phone, check the device limitation before building your routine around this. Live Text requires iPhone XS or newer with iOS 15 or later.[1] An iPhone 8, first-generation iPhone SE, or older model can still photograph notes and use Notes for organization, but it will not provide the same built-in Live Text workflow.
Capture Slides Before They Disappear
Lecture slides are a timing problem. You rarely have control over the lighting, the angle, or how long the slide stays on screen. If you need the full slide as study context, take the photo first and clean it up later. If you only need the text, try Live Text after the photo is safely in your library.
When possible, tap the slide area on the screen to focus and expose for the projected text, not the wall around it. Avoid zooming too far if it makes the image softer; a clear wider image is often more useful than a blurry close-up. After class, move the usable slide photos into the relevant Notes page or album before they sink into the camera roll.
For slides with dense diagrams, tables, or equations, do not over-prioritize text extraction. A searchable phrase typed under the image may be enough: “mitosis stages diagram,” “supply demand graph,” or “exam 2 essay prompts.” The slide stays visually intact, and you still have a search handle.
Treat Whiteboards as Evidence, Not Perfect Scans
Whiteboards are where neat scanning advice starts to meet real classroom life: glare from ceiling lights, half-erased marker, people standing up, and a board that stretches wider than your seat angle allows. The best move is usually a careful photo, not Scan Documents. Stand square to the board if you can, hold the phone level, and take the picture before the instructor erases the setup work.
If the board is split into sections, take one full-room reference photo and then closer shots of each important section. The full shot helps you remember the order; the close shots preserve details. For math, chemistry, economics graphs, and language examples, this matters more than whether Live Text can read every symbol.
After class, add the whiteboard images to the day’s class note and type a plain label under each one. Something as simple as “proof of theorem from Monday board” or “Spanish irregular preterite examples” gives Notes a dependable search term even if the board handwriting is not recognized cleanly.
Be Honest About Handwriting Recognition
Handwriting is the place to slow down. Apple documents Live Text support for printed and handwritten text, but it does not mean every notebook page becomes a clean editable document.[1] Independent 2026 benchmarks from HandwritingOCR estimate Apple Notes handwriting-to-text accuracy at about 70–85% for neat printed handwriting on paper and about 50–70% for modern cursive.[5] Those figures are useful precisely because they sound like student reality: good enough for some searching, risky for exact transcription.
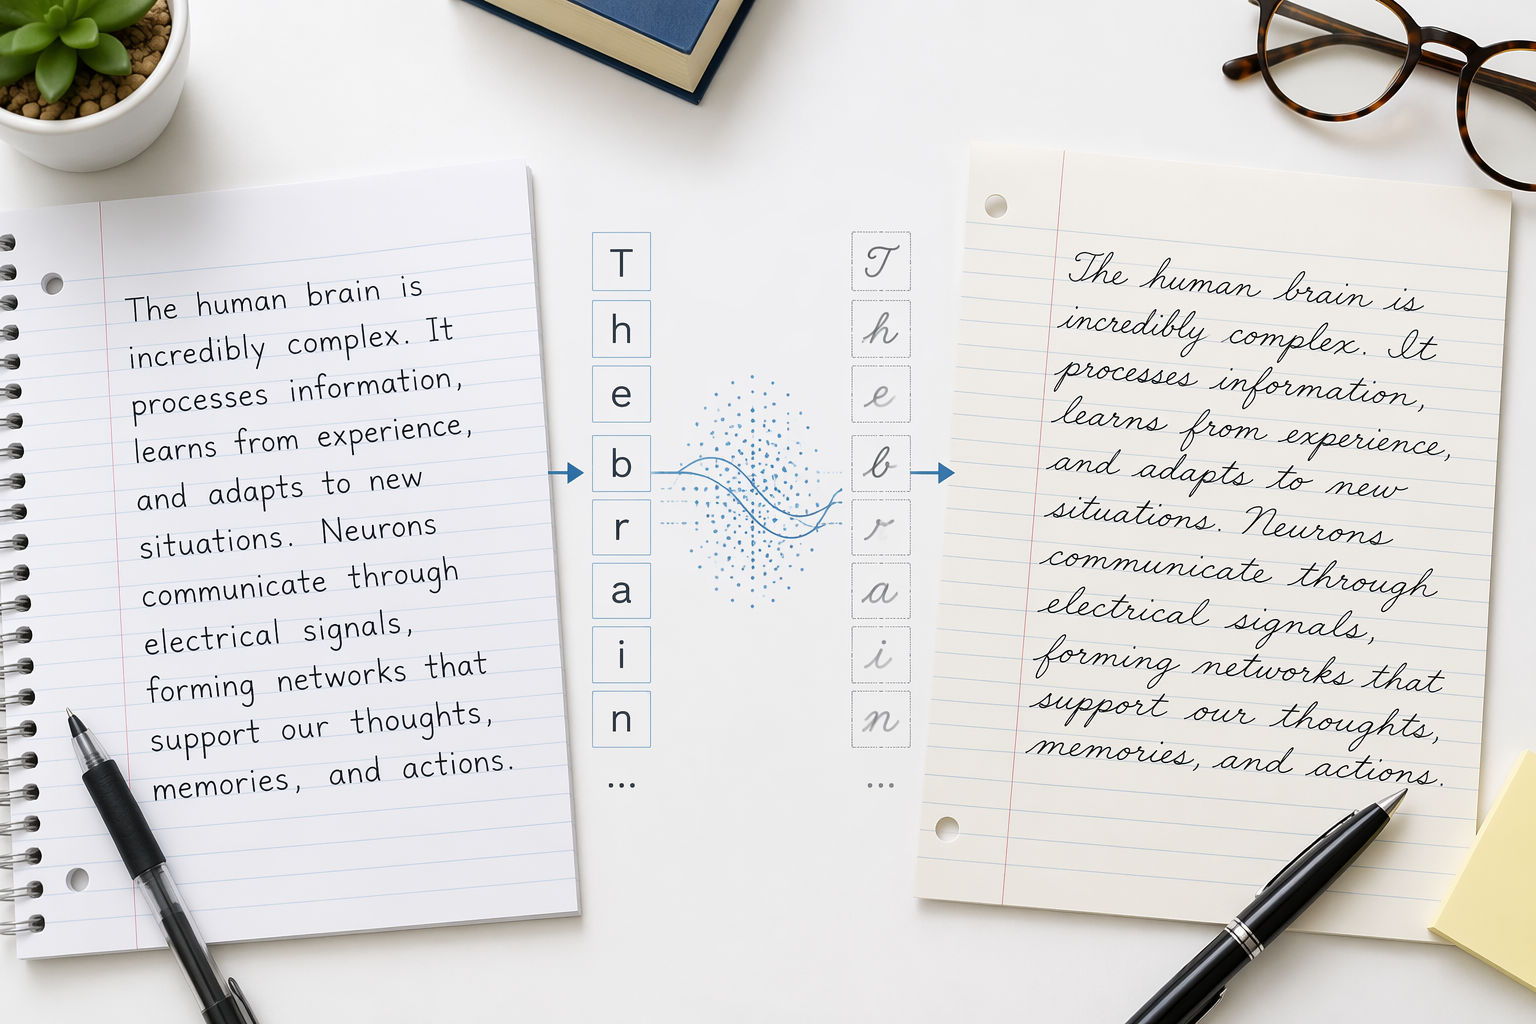
Use handwriting OCR differently depending on what you need. If you want a searchable reference, scanning handwritten notes into Notes can be enough, especially when your writing is printed, dark, and evenly spaced. If you need editable text for an essay outline, flashcards, or shared study guide, review every line before trusting it. Cursive, cramped margins, arrows, abbreviations, and mixed equations can all reduce recognition quality.
A practical split works well: scan full handwritten pages for storage, then use Live Text only on short passages that are neat enough to verify quickly. For example, capture the whole page of lecture notes as a scan, then select only a definition, list, or paragraph you want to paste into a typed study guide. That keeps the original context while avoiding a long cleanup job.
Do not confuse this with iPad handwriting features. Scribble and Smart Script are Apple Pencil workflows for iPad, not iPhone camera tools. On an iPhone, the relevant features are Camera, Notes scanning, Scan Text, and Live Text.
A Simple Capture Routine for Class Days
The routine does not need to be elaborate. It just needs to happen before the material disappears into the camera roll.
- Before class: create or open the note for that course, unit, or date.
- During class: photograph fast-moving slides and boards first; do not try to organize while the lecture is still moving.
- After class: scan printed handouts with Notes instead of leaving them as regular photos.
- For searchable text: use Live Text on printed slides, book pages, and neat handwriting only when the result is worth checking.
- Before studying: add short typed labels under images that Live Text may not read reliably.
The labels are the quiet fix. If a whiteboard image says “midterm essay themes” underneath it, you do not need OCR to perform a miracle. If a scanned worksheet sits inside a note called “Chem equilibrium practice,” you do not need to remember the day you received it.
When the Built-In Tools Are Enough
Stay with the built-in iPhone workflow when your main goal is capturing and organizing ordinary class material: printed handouts, worksheets, lecture slides, whiteboards, and readable handwritten notes. Notes’ scanner gives you the closest thing to a pocket document scanner, and Live Text is strong enough for many printed passages and some neat handwriting. The price is also hard to argue with: no extra device, no paid scanner subscription, and no new account to maintain.
Consider dedicated OCR or scanning tools only when the bottleneck is clear. If your notes are mostly cursive, your handwriting is messy, you need very high transcription accuracy, or you are scanning thick books and large batches of pages every week, the built-in workflow may become slow. That is the point where a specialized tool can be worth comparing.
References
- Use Live Text with your iPhone camera, Apple Support
- Scan text and documents in Notes, Apple Support
- The 3 Best Mobile Scanning Apps of 2026, Wirecutter, 2026
- How to scan documents and images with your iPhone using Notes, ZDNET
- Convert handwriting to text in Apple Notes: 2026 guide, HandwritingOCR, 2026
Comments
Join the discussion with an anonymous comment.