
How to Set Up Claude Opus 5 for Coding Projects
Accuracy Warning — Claude Opus 5
Claude Opus 5 is not supported in GitHub Copilot as of Q3 2026; proxy workarounds may introduce tool-calling issues and quota limits.
- Accuracy:
- Limited
- Tested:
- Setting up Claude Opus 5 for coding projects
- Last tested:
- 2026-07-25
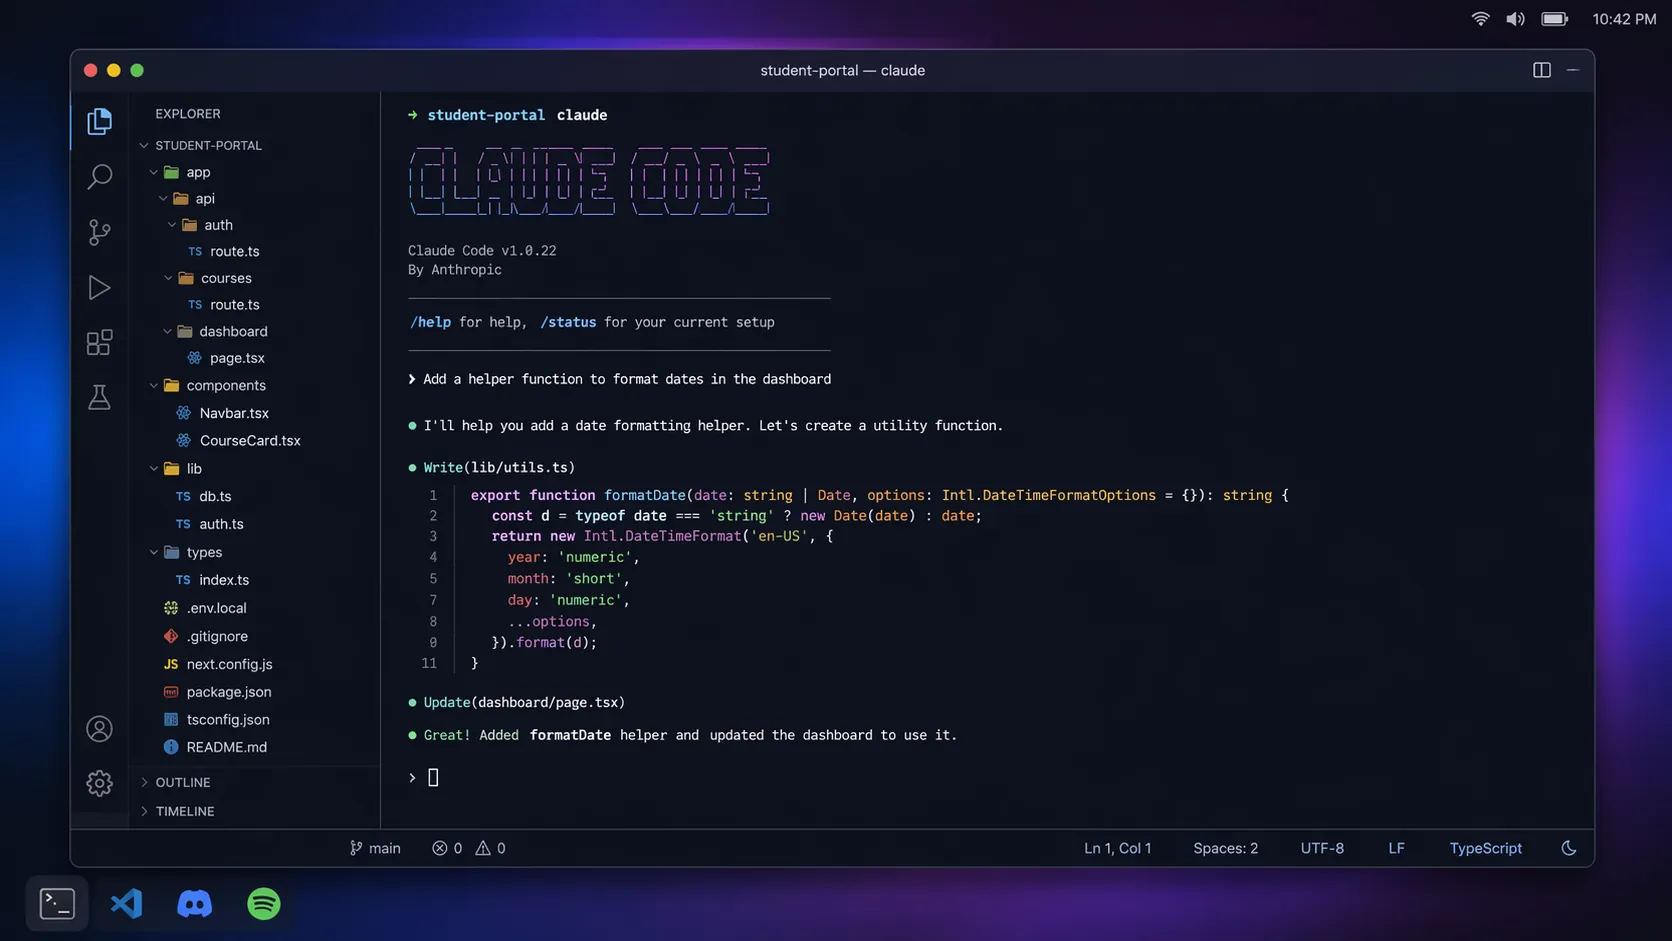
If you searched for “how to setup Claude Opus 5 Copilot for coding projects,” start with the correction that saves the most time: as of Q3 2026, do not start in GitHub Copilot. GitHub’s supported-models documentation does not list Claude Opus 5, so an IDE-native Copilot setup is not the complete path right now.[1] The usable route for a coding project is Claude Code CLI.
That matters because Opus 5 is not just another model name in a dropdown. Anthropic positions Claude Opus 5 as its most capable model for difficult coding and agentic work, and it launched on July 24, 2026.[2] Since this is launch-window software, integrations can shift quickly. For today, the honest setup is terminal-first: install Claude Code, authenticate, open your project, give it durable context, and control how much reasoning you ask it to spend.
The Setup Path That Actually Works Right Now
The working path is simple enough, but the decisions inside it are not all equal. Installation is a one-time chore. Authentication decides how painful your monthly bill can become. Project context decides whether you waste every session re-explaining your repo. Effort level decides whether Claude spends lightly on a formatting change or heavily on a real debugging problem.
| Stage | What you do | Why it matters for a student project |
|---|---|---|
| Install | Use the native Claude Code installer | The native installer auto-updates, so you are less likely to be stuck on a stale CLI during a project week |
| Authenticate | Choose Pro, Max, API key, or Bedrock | This is where convenience, limits, and cost risk separate |
| Open the project | Run Claude Code from the project root | The tool needs to see the files you actually want it to reason about |
| Persist context | Create a project-root CLAUDE.md | You stop repeating the same instructions every night |
| Control effort | Use /effort from low through max | Routine edits should not burn the same tokens as hard debugging |
| Use caching-aware prompts | Keep stable project context reusable | Repeated context is where prompt caching can reduce input cost |
1. Install Claude Code CLI
Use Anthropic’s native installer rather than piecing together an old global package from a random tutorial. The beginner Claude Code setup guide points to the native installer at claude.ai/install.sh and notes that it auto-updates.[3] That auto-update detail is not glamorous, but it is exactly the kind of thing that prevents a “why is my command different from the docs?” spiral the night before a demo.
curl -fsSL https://claude.ai/install.sh | shAfter installation, open a new terminal session if the command is not found immediately. Shell path changes often need a restart before your terminal recognizes a new CLI command.
claude --versionIf that prints a version, the install step is done. Do not spend an hour tuning your editor before you have confirmed the command works from a plain terminal.
2. Choose the Authentication Route Before You Start Coding
Claude Code supports several authentication routes: Pro, Max, API key, and Bedrock.[3] The right choice depends less on which one sounds “professional” and more on how predictable your usage needs to be.
| Option | Best fit | Student-budget tradeoff |
|---|---|---|
| Claude Pro | A learner who wants a fixed monthly subscription and moderate project help | $20/month is easier to budget, but usage limits may matter during heavy coding weeks |
| Claude Max | A student shipping a serious portfolio project or repeatedly hitting limits | $100/month is expensive, but it can be rational for a short, high-stakes build period |
| API key | A builder who wants programmatic access or tighter integration control | Pricing is usage-based at $5/$25 per million tokens, so careless long prompts can burn money quickly |
| Bedrock | A user working inside an AWS-governed setup | Usually more relevant to institutional or cloud-managed workflows than a solo student project |
The API route is powerful, but it is also the easiest one to misunderstand. Token pricing is not the same as a flat subscription. A long project prompt, repeated across many sessions, can become real spend if you keep sending the same files, rules, and error traces without any discipline. Opus 5 pricing is $5 per million input tokens and $25 per million output tokens, so output-heavy debugging loops deserve attention.[2]
For most student coding projects, start with Pro if you already use Claude regularly and your usage is moderate. Consider Max when the project is blocked, the deadline is real, and the extra capability or higher limits are worth paying for during a specific build window. Use API keys when you understand tokens well enough to watch spend, or when your project needs API-level integration rather than just coding assistance.
3. Open Claude Code From the Project Root
Claude Code is most useful when it is standing inside the project you want help with. Open your terminal, move into the repository, and start the CLI there.
cd path/to/your-project
claude
For a student project, this might be a flashcard app, an exam countdown dashboard, a small React portfolio site, a Python quiz generator, or a data-cleaning script for a class assignment. The important part is that Claude can inspect the files that define the real project, not an abstract description of it.
At this point, avoid the lazy version of AI coding where the tool writes something you cannot explain. If you are using Claude to build a project that may show up in an interview, class demo, or admissions-adjacent portfolio, you still own the reasoning. That is the same line students run into with broader vibe coding: speed helps, but outsourced understanding eventually becomes your problem.
4. Add a CLAUDE.md File So Every Session Does Not Start From Zero
The project-root CLAUDE.md file is one of the most useful parts of this setup because it solves a boring, expensive problem: repeated context. The Claude Code beginner guide describes CLAUDE.md as a way to persist project context across sessions.[3] For a multi-day student build, that can matter more than another flashy prompt trick.
Create the file at the root of your repo:
touch CLAUDE.mdThen write the context you would otherwise keep retyping. Keep it short enough to maintain, but specific enough to prevent Claude from guessing.
# Project Context

This is a student-built study tool for exam prep.

## Stack
- Frontend: React
- Styling: CSS modules
- Backend: Node/Express
- Data: local JSON for now

## Goals
- Help users track study sessions and upcoming exam dates
- Keep the UI simple enough for mobile use
- Prioritize readable code over clever abstractions

## Rules for Claude
- Explain changes before editing multiple files
- Do not add new dependencies without asking
- Prefer small, testable changes
- When fixing bugs, identify the likely cause before proposing code
- Keep examples beginner-readable because I need to explain this project later

## Current Priorities
- Finish the dashboard
- Add exam countdown logic
- Improve error handling
- Prepare for a short demo
That file does three jobs. It gives Claude your stack. It states your standards. It reminds the tool that the code has to be explainable by you, not just runnable once on its machine. If the project changes, update CLAUDE.md instead of burying new rules inside one-off chat messages.
A good CLAUDE.md is not a diary. Do not paste every assignment requirement, every error log, and every idea you might build someday. Put stable facts there: project purpose, stack, file conventions, dependency rules, testing expectations, and the kind of help you want. Temporary errors belong in the active prompt.
What to Put in CLAUDE.md
- Project purpose: what the app or script is supposed to do
- Tech stack: frameworks, language versions, database, test runner, package manager
- Constraints: no new dependencies, no paid services, mobile-first UI, school-project readability
- Workflow rules: ask before large rewrites, explain file changes, keep commits small
- Current priorities: the features or bugs that actually matter this week
5. Use /effort Like a Budget Dial, Not a Personality Setting
Opus 5 can reason hard, but you should not ask it to reason hard for everything. Anthropic’s effort documentation describes effort as a control for reasoning depth, with levels ranging from low to max.[4] The practical translation: more effort can help on harder tasks, but it also increases token use.
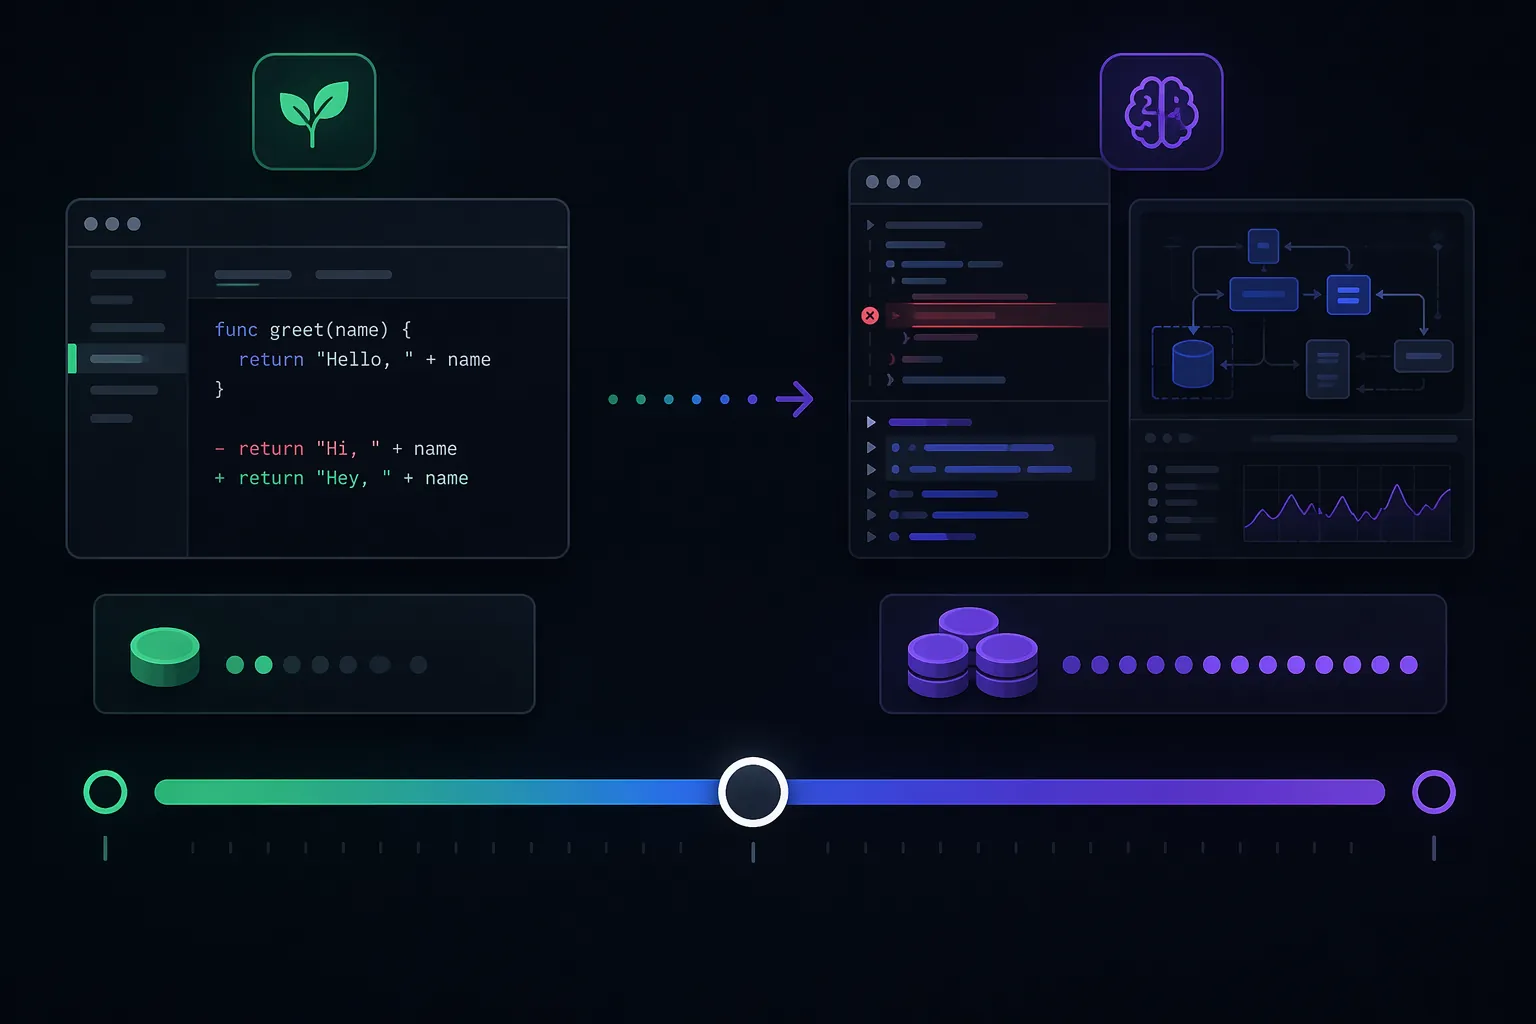
Use low effort for routine work: renaming variables, explaining a small function, writing a simple unit test, converting CSS, or checking why a component prop is undefined. Use higher effort when the bug crosses file boundaries, the architecture decision affects the rest of the project, or you have already tried the obvious fix.
| Effort level | Use it for | Avoid using it for |
|---|---|---|
| Low | Small edits, simple explanations, practice code, formatting, straightforward refactors | Bugs where the cause is unclear across several files |
| Medium | Feature planning, test generation, moderate debugging, comparing two implementation options | Tiny changes that you could inspect yourself in a minute |
| High | Hard debugging, architecture review, performance problems, codebase-wide reasoning | Routine autocomplete-style edits |
| Max | A blocker that justifies the spend: a demo-breaking bug, a confusing failure chain, or a design decision you will live with | Curiosity prompts, cosmetic changes, or vague “improve my app” requests |
A useful rhythm is to start lower, then raise effort only after you have narrowed the problem. For example, first ask Claude to inspect the error and identify likely files. If it finds that the bug spans routing, state management, and API response shape, then increase effort for the actual fix. That sequence keeps the expensive reasoning closer to the part that needs it.
/effort low

Review this component and explain why the button stays disabled. Do not edit files yet.
/effort high
The disabled state appears to depend on the API response, form validation, and route params. Trace the issue across the relevant files and propose the smallest fix.The second prompt is worth more reasoning because the task has become more specific. “Fix my app” at max effort is usually wasteful. “Trace this state bug across these files and propose the smallest fix” gives the model a better target.
6. Use Prompt Caching Where Your Context Repeats
Prompt caching belongs in the same conversation as CLAUDE.md and effort control because all three are about not paying repeatedly for confusion. Anthropic’s Opus 5 platform materials state that prompt caching can cut input costs by up to 90% for repeated contexts.[2] That does not mean every prompt becomes cheap. It means stable context is where the savings are.
For a coding project, repeated context usually includes project rules, architecture notes, file conventions, and long instructions that do not change between sessions. That is why a clean CLAUDE.md helps. It gives you a stable base instead of a slightly different wall of text every time you sit down after class.
The cost-aware pattern is not to starve the model of context. It is to separate stable context from temporary context. Stable context goes in CLAUDE.md. Temporary context goes in the prompt: the current error, the file you changed today, the test that failed, the feature you are building tonight.
| Put in CLAUDE.md | Put in the active prompt |
|---|---|
| Project purpose | The bug you are seeing right now |
| Stack and package manager | The command that failed |
| Coding style rules | The feature you want to add today |
| Testing expectations | The latest error message |
| Dependency constraints | The files you want reviewed in this session |
7. Ask for Work You Can Verify
A coding agent can edit fast enough to make a weak student project look productive for ten minutes. The real test is whether you can run it, explain it, and repair it when something breaks. That is especially true if the project is attached to an exam-prep workflow, a portfolio, or a class deadline.
Use prompts that force reviewable work:
- “Explain the likely cause before editing files.”
- “Make the smallest change that fixes the failing test.”
- “List the files you plan to touch before changing them.”
- “After editing, tell me how to verify the fix locally.”
- “If you are uncertain, say what information is missing instead of guessing.”
This is also where AI study workflows and coding workflows overlap. If you are building a study tool with Opus 5, the tool still needs an actual study system around it. StudyMethod’s guide to OpenAI and Hugging Face for exam prep is useful context for thinking about AI as support infrastructure, not a substitute for the work itself.
A Practical Student Workflow
Once the setup is working, the day-to-day loop can stay boring:
- Open the repo from the project root.
- Check that CLAUDE.md reflects the current project rules.
- Start with low or medium effort for inspection and small edits.
- Raise effort only when the problem is genuinely hard or high-value.
- Run the app, tests, or build command yourself.
- Ask Claude to explain any change you cannot explain back.
For example, if you are building an exam countdown app, do not spend max effort on button colors. Save heavier reasoning for date logic, timezone handling, scheduling rules, or the data model that connects study sessions to deadlines. If you need a planning structure to pair with the tool you are building, the 30-day exam countdown planner gives the project a real use case instead of a generic dashboard.
What About LiteLLM or Other Workarounds?
There are proxy-style workarounds, including LiteLLM approaches discussed by independent developers, that try to route coding tools through other model endpoints.[5] Treat that as an advanced path, not the default answer to this setup problem.
The caveats are not small: tool-calling limitations and faster quota burn are both real concerns for that kind of workaround. If your goal is to build a student project instead of debugging the integration layer itself, Claude Code CLI is the cleaner choice right now.
The Operating Rule
Claude Opus 5 is usable for student coding projects now, but the honest setup is not GitHub Copilot. As of Q3 2026, GitHub Copilot does not list Opus 5 as a supported model, while Claude Code CLI gives you the complete terminal-based path.[1][3]
Set it up once, then make it sustainable: authenticate with a plan you can afford, keep project memory in CLAUDE.md, use /effort deliberately, and let prompt caching help where the same context repeats. Opus 5 launched on July 24, 2026, so integration details may move quickly, but that operating rule is the safest way to use it for a real coding project today.[2]
References
- Supported AI models in Copilot, GitHub Docs
- Claude Opus 5, Anthropic
- Claude Code Tutorial for Beginners 2026, dev.to
- Effort, Anthropic Claude Platform Docs
- Claude Code with LiteLLM, blog.f12.no
Authoritative source
No specific exam hub matched
Browse the exam hubs directory for the authoritative plan on any of the five exams.
Report an error in this tool's output
Found something this tool got wrong beyond what's documented above? Report it so the accuracy log stays current.
Comments
Join the discussion with an anonymous comment.