
How to Set Up Anki from Scratch: A Complete Beginner's Guide
Accuracy Warning — Anki
This tool's exam-prep accuracy has not been fully characterized.
What Anki Actually Is (and Why It Works)
Anki is not just a digital flashcard app. It is a spaced repetition system built on a simple but powerful idea: show you a card right before you are about to forget it. The algorithm tracks how well you know each card individually and schedules your next review accordingly — easy cards come back in weeks or months, hard cards come back in minutes or days.
Every time you answer a card, you are also practicing active recall — retrieving information from memory rather than passively rereading it. Decades of cognitive science research show that retrieval practice produces far stronger long-term retention than re-reading or highlighting.
The result: you remember more material in less total study time, and what you learn sticks for months or years rather than fading after an exam. That is the reason Anki has a devoted following among medical students, language learners, and anyone facing a large volume of material they genuinely need to retain.
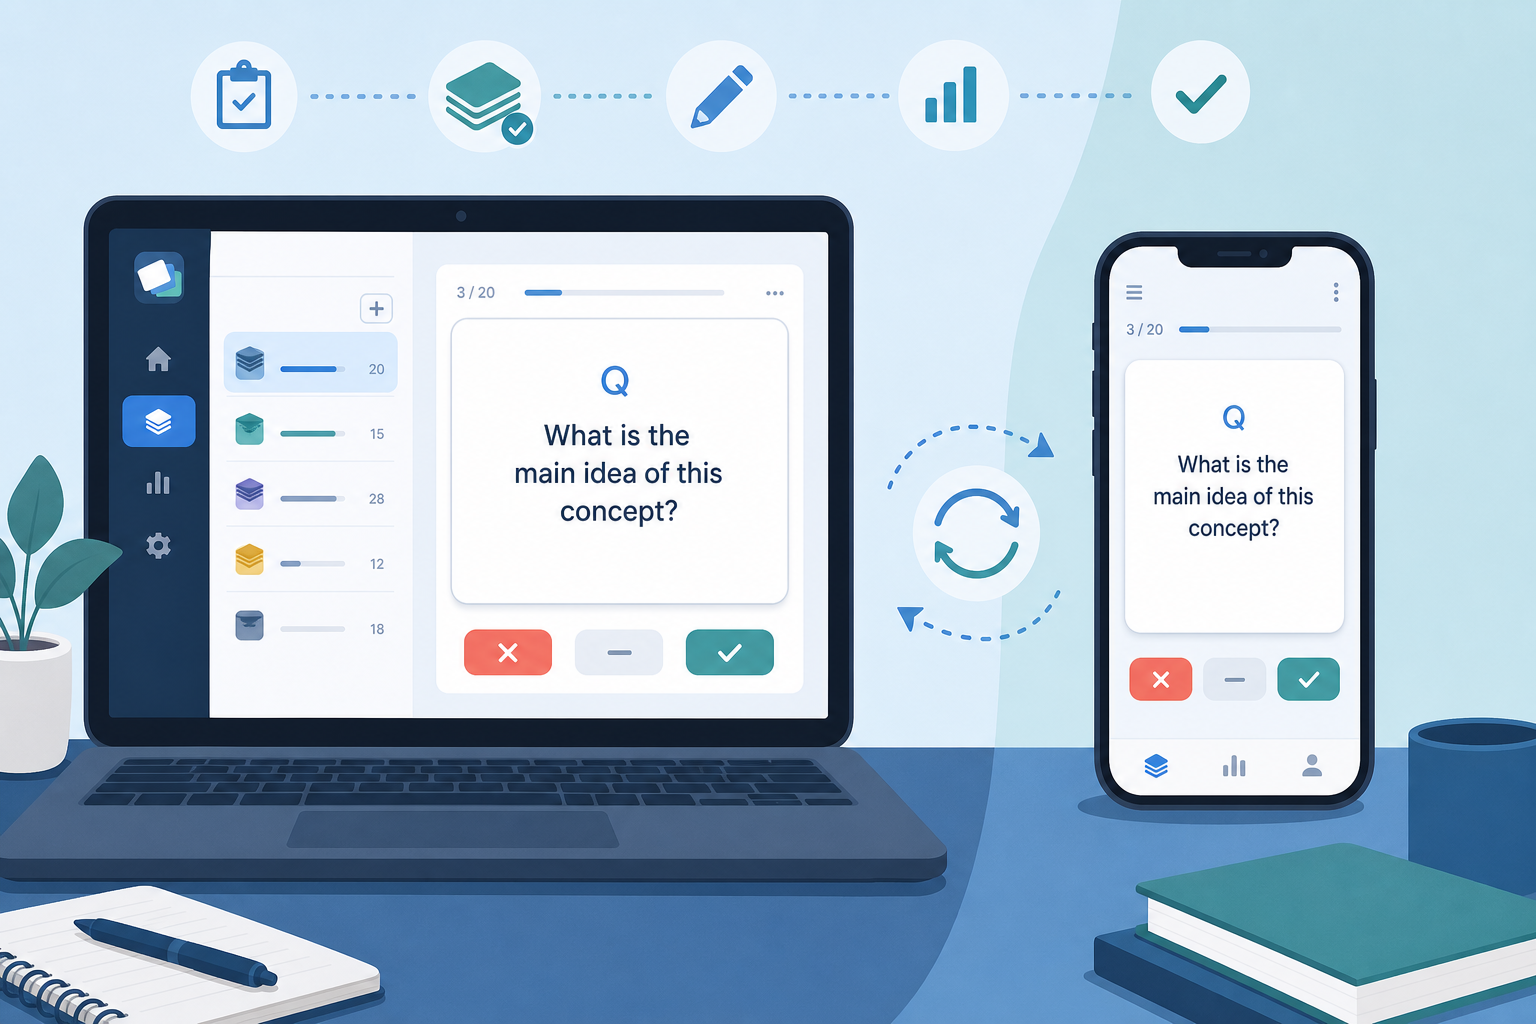
Download and Install Anki on Every Platform
Anki has three separate official apps depending on your device. Each is maintained by the same development team and syncs to the same AnkiWeb account.
| Platform | App name | Cost | Where to get it |
|---|---|---|---|
| Windows / Mac / Linux | Anki (desktop) | Free | apps.ankiweb.net |
| Android | AnkiDroid | Free | Google Play Store |
| iOS (iPhone / iPad) | AnkiMobile Flashcards | ~$25 (one-time) | Apple App Store |
To install the desktop app, go to apps.ankiweb.net, download the installer for your operating system, and run it. The installation is straightforward on all three platforms.
iOS users who do not want to purchase AnkiMobile can still do reviews for free using the AnkiWeb browser interface at ankiweb.net in Safari or Chrome. It is not as convenient as the native app, but it works.
Five Core Concepts Every New Anki User Must Understand
Anki uses specific vocabulary that can be confusing at first. These five terms come up constantly — understanding them now will save you from getting lost later.
| Term | What it means |
|---|---|
| Card | The individual question-and-answer pair you see during a review session. A card has a front (the question or prompt) and a back (the answer). |
| Note | The underlying content that generates one or more cards. When you type a question and answer into Anki, you are creating a note. The note produces the card you actually review. |
| Deck | A named container for a group of cards. You can have multiple decks (e.g., one for Spanish vocabulary, one for biology). Each deck has its own settings. |
| Card states | Every card is in one of four states: New (never seen), Learning (recently introduced, still in short-interval practice), Review (graduated to longer spaced intervals), or Relearn (a Review card you got wrong, sent back to short intervals). |
| Collection | Everything stored in your Anki — all your decks, notes, cards, and media. Your collection is what syncs to AnkiWeb and across your devices. |
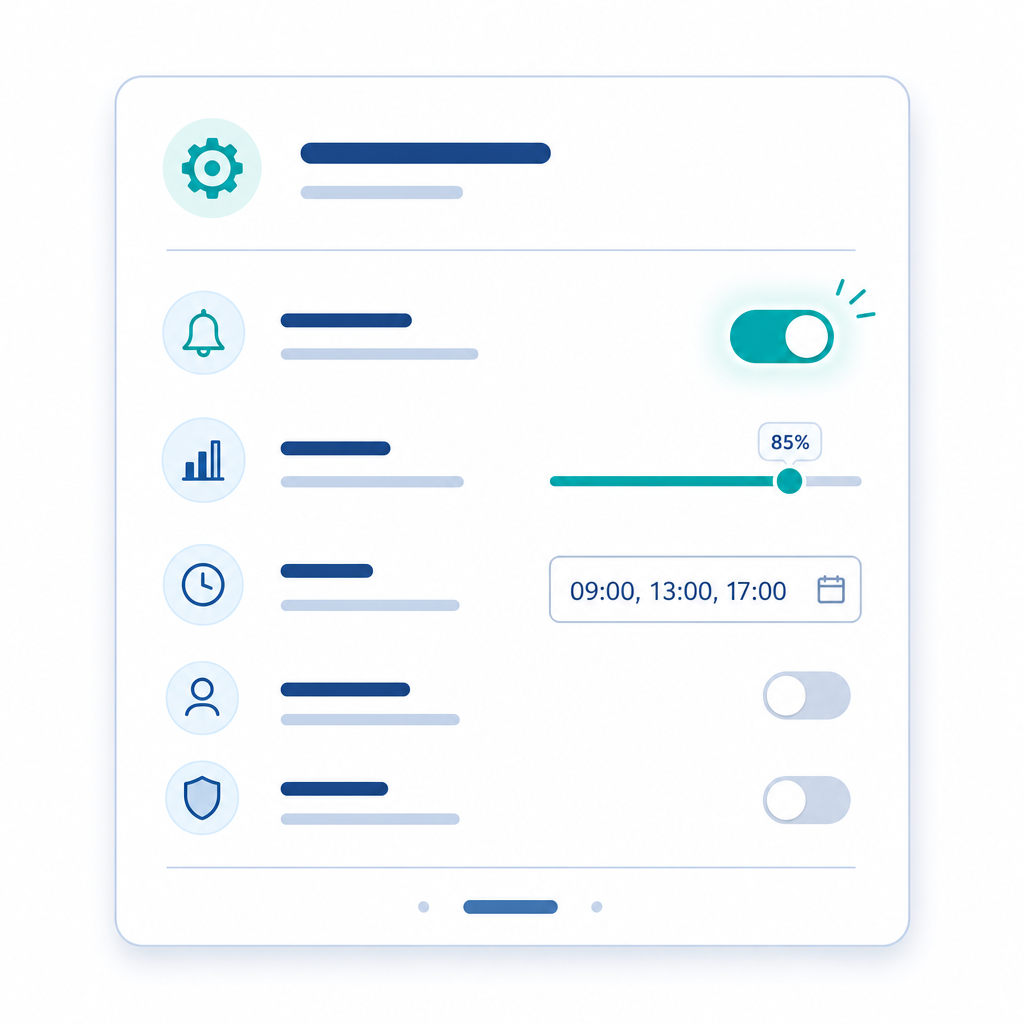
First-Time Settings to Configure Right Now
Anki's default settings are not ideal for most new users. Spending five minutes on these six settings before you create your first card will save you from common frustrations later.
To access deck options in the desktop app: click the gear icon next to your deck name on the main screen, then select "Options". You can also set a default option group that applies to all new decks.
1. Enable FSRS
In the deck options panel, scroll to the FSRS section and toggle it on. FSRS (Free Spaced Repetition Scheduler) is the modern algorithm built into Anki 23.10+. It replaces the older SM-2 algorithm and more accurately predicts when you are about to forget a card, which means fewer unnecessary reviews and better long-term retention.
After toggling FSRS on, click "Optimize" to let Anki calibrate the algorithm. For a brand-new collection with no review history, the default parameters are a fine starting point — you can re-optimize after a few weeks of reviews.
2. Set Desired Retention to 0.90
Desired retention tells FSRS what percentage of cards you want to remember at the time of each review. The default of 90% is the right starting point for most learners. Going higher — say, 95% or 97% — means shorter intervals and significantly more daily reviews. The official Anki documentation notes that above 97%, the review workload can become overwhelming. Leave this at 0.90 until you have a clear reason to change it.
3. Set Learning Steps to 1m 10m
Learning steps control how a brand-new card behaves before it graduates to spaced review intervals. The setting "1m 10m" means a new card you answer correctly will come back in 1 minute, then again in 10 minutes. If you answer it correctly at both steps, it graduates to a longer spaced interval the next day.
This two-step sequence gives you a quick second exposure within the same session, which helps the card transition from working memory to longer-term retention. Keep learning steps under one day when using FSRS.
4. Set New Cards Per Day to 10–20
This is the setting new users most often get wrong. Anki's default is 20 new cards per day, which sounds modest — but each new card you learn today creates approximately 7 future review cards over the following month. At 20 new cards per day, you can expect around 140+ reviews per day within a few weeks.
Start at 10 if you are completely new to Anki. Move to 20 once you are consistently completing your daily reviews without feeling overwhelmed. Do not set this to a very high number like 9999 — that defeats the purpose of spaced repetition and creates an unmanageable backlog.
5. Set Maximum Interval to 36500
Maximum interval caps how far into the future Anki can schedule a card. The correct value is 36500 days (roughly 100 years), which effectively means no cap. Some older guides recommend lowering this to 180 or 365 days, but that forces Anki to show you well-known cards far more often than necessary — wasting review time on material you already know solidly. Leave this at 36500.
6. Do Not Cap Maximum Reviews Per Day
Leave the maximum reviews per day setting uncapped (9999 is the conventional way to express this). Capping reviews means Anki will hide cards that are due, causing them to pile up. Your review count is determined by how many new cards you introduce — control that number (setting #4 above) rather than capping the review queue.
| Setting | Recommended value | Why it matters |
|---|---|---|
| FSRS | Enabled + Optimized | Modern algorithm — better retention with fewer unnecessary reviews than legacy SM-2 |
| Desired retention | 0.90 | 90% recall rate at review time; balanced workload — going higher increases reviews sharply |
| Learning steps | 1m 10m | Two short exposures before a card enters spaced review; both steps must be under 1 day for FSRS |
| New cards per day | 10–20 | Each new card creates ~7 future reviews per month; start low and increase gradually |
| Maximum interval | 36500 | No effective cap — do not lower this or Anki will over-review well-known cards |
| Maximum reviews per day | 9999 (uncapped) | Control review load via new cards/day, not by hiding due cards |
Create Your First Deck
On the Anki desktop main screen, click the "Create Deck" button at the bottom. Give it a broad name — "Biology," "Spanish," or "GRE Vocabulary" — rather than something overly specific.
New users often create too many nested subdecks — for example, "Biology > Chapter 3 > Section 3.2 > Mitosis." This creates friction because you end up reviewing tiny isolated piles rather than a healthy mixed queue. A single deck or a small number of broad top-level decks is the right starting structure. You can always reorganize later.
- Open Anki on your desktop.
- Click "Create Deck" at the bottom of the main screen.
- Type a broad, descriptive name for your subject area.
- Press Enter or click OK. Your deck now appears in the main deck list.
Add Your First Cards: Basic Type and Cloze Deletion
To add cards, click "Add" in the toolbar at the top of the Anki desktop window. This opens the card editor. You will see a "Type" dropdown at the top — this selects the note type.
Two note types cover the vast majority of what beginners need:
Basic Cards
The Basic type has two fields: Front and Back. Front is your question or prompt; Back is the answer. During a review, Anki shows you the Front and asks you to recall the Back before flipping the card.
Example: Front: "What is the powerhouse of the cell?" / Back: "The mitochondria."
Cloze Deletion Cards
Cloze deletion blanks out part of a sentence for active recall. You write a statement and wrap the part to be tested in double curly braces with a number: {{c1::answer}}. Anki generates a card that shows the sentence with that part blanked out.
Example: "The mitochondria is the {{c1::powerhouse}} of the cell." generates a card showing "The mitochondria is the _____ of the cell."
One source statement can generate multiple cards by using different numbers: {{c1::term one}} and {{c2::term two}} in the same note create two separate cards, each testing a different blank.
The Atomic Card Principle
The single most important card quality rule: one question, one answer per card. A card that asks "What are Newton's three laws of motion?" is a poor card — it tests three things at once, and you will never know which part you actually forgot.
Split it into three cards: one for each law. Each card tests exactly one retrievable fact. This is called atomic card design, and it is the principle that separates effective Anki users from those who build large decks and still forget things.
Import a Shared Deck from AnkiWeb
AnkiWeb hosts thousands of community-made decks covering everything from Japanese vocabulary to anatomy to GRE words. Importing one takes about two minutes.
- Open Anki on your desktop and click "Get Shared" at the bottom of the main screen. This opens the AnkiWeb shared deck library in your browser.
- Search for your subject and find a deck with a high download count and recent update date — these signals suggest the deck is well-maintained.
- Click "Download" on the deck page. Your browser will download a .apkg file.
- Double-click the downloaded .apkg file. Anki will automatically open and import the deck into your collection.
- Press the sync button (circular arrows icon, top right of the Anki window) to push the imported deck to AnkiWeb and your other devices.
Create a Free AnkiWeb Account and Sync to All Your Devices
AnkiWeb is the free sync service that keeps your collection identical across all your devices. Set it up now so you can review on your phone during any spare moment — commuting, waiting in line, between classes.
- Go to ankiweb.net and click "Sign Up" to create a free account. You only need an email address and a password.
- In the Anki desktop app, click the sync button (circular arrows, top right). Enter your AnkiWeb email and password when prompted.
- On your first sync, Anki will ask whether to Upload or Download. Choose Upload — this sends your local collection (the cards and decks you just created) to AnkiWeb. Only choose Download if AnkiWeb already has data you want to keep.
- Install AnkiDroid (Android) or AnkiMobile (iOS) on your phone. Log in with the same AnkiWeb account and press sync. Your entire collection will appear on your phone within seconds.
After the initial setup, Anki syncs automatically each time you open or close the app. The sync button turns blue when a routine sync is available and red when a full sync is needed — both are normal.
Your First Review Session: How to Actually Use Anki
Click on your deck name to start a review session. Anki shows you the front of a card. Try to recall the answer before you flip it — even if you are not sure, make an attempt. Then click "Show Answer" to reveal the back.
Now you rate your recall. As a beginner, use only two buttons:
- Again — you forgot the answer, or your recall was significantly wrong. The card comes back in 1 minute.
- Good — you remembered the answer correctly. The card moves to the next step in its learning sequence.
Work through all the cards in your queue. When the queue empties, Anki shows a congratulations screen — you are done for the day. Do not try to add more new cards mid-session to extend the session artificially. Your next due cards will appear tomorrow.
The most important rule in Anki: do not skip a day. Cards that were due yesterday are still due today — plus today's new cards. Miss two or three days and you can face a backlog of hundreds of cards that feels impossible to clear. The daily habit is not optional; it is the mechanism.
Six Beginner Mistakes That Cause Most People to Quit
Most people who try Anki and give up within the first month make one or more of these six mistakes. Each one is avoidable.
- Setting new cards per day too high. Adding 50 or 100 new cards on day one feels productive. Three weeks later, you are staring at 500+ daily reviews and burning out. Start at 10–20 and raise the limit only after you have consistently cleared your queue for two weeks.
- Pressing Easy habitually. Clicking Easy on cards you know well feels efficient, but it pushes those cards out further than your actual retention supports. Cards you pressed Easy on six months ago will come back and you will have forgotten them — but FSRS will schedule them as if you should not have. Use Good for correct answers and only reconsider Easy after you understand the algorithm well.
- Skipping review days. One skipped day doubles the next day's review load. Two skipped days can triple it. The backlog compounds faster than most new users expect. If you know you will miss a day, reduce your new cards per day setting in advance rather than skipping reviews entirely.
- Over-nesting subdecks. Creating a separate subdeck for every chapter, topic, and subtopic fragments your collection into tiny piles. Anki's scheduling works best across a broad, mixed pool of cards. Consolidate into a small number of top-level decks and let the algorithm handle the variety.
- Ignoring leech cards. A leech is a card you have failed 8 or more times (Anki's default threshold). Leeches do not mean you have a bad memory — they almost always mean the card is poorly designed. It is too complex, lacks context, or tests multiple things at once. When Anki flags a leech, delete or redesign that card rather than grinding through it repeatedly.
- Treating shared decks as a complete replacement for your own cards. Downloading a 20,000-card pre-made deck and reviewing it passively is not the same as learning. Shared decks are a useful supplement — they save time on foundational vocabulary and well-established facts. But the cards you create yourself, from your own course material and your own phrasing, will always produce deeper and more durable learning.
Authoritative source
No specific exam hub matched
Browse the exam hubs directory for the authoritative plan on any of the five exams.
Report an error in this tool's output
Found something this tool got wrong beyond what's documented above? Report it so the accuracy log stays current.
Comments
Join the discussion with an anonymous comment.