
Method
How to Plan a Brown Bear Photography Trip for Beginners
A complete planning guide for beginner photographers wanting to photograph brown bears in the wild. Covers the best locations (Katmai, Lake Clark), seasonal timing, beginner-friendly gear recommendations (100-400mm lens), budget estimates ($4,600-$14,500 for guided tours), and essential safety protocols.
Evidence panel
- Evidence level
- Limited
- Primary citation
- Alaska Photo Adventures, Ron Levy (2026)
For a first brown bear photography trip, make the big decisions in this order: choose Katmai or Lake Clark, pick the week based on bear behavior rather than airfare, decide whether you are paying for a guided trip or trying the Brooks Lodge lottery, then rent or pack a practical telephoto zoom. If cubs, salmon action, and a beginner-friendly chance of useful images are the priority, aim for mid-July through early August. If the budget cannot stretch to a guided Alaska bear trip or the access logistics feel shaky, wait. The camera can be solved late; the location and access model cannot.
A realistic beginner setup is a camera body you already know, a 100–400mm or 150–600mm lens, rain protection, spare batteries, and enough discipline to listen when a guide says stop moving. A realistic 2026 budget is much less comforting: guided brown bear photography trips commonly land around $4,600 to $14,500 depending on duration, remoteness, lodging, and exclusivity, while independent Brooks Lodge plans depend on the lottery and still involve expensive air access, including floatplane costs that can run around $850 round trip.[1][2][3]
Start with the place, not the lens
Katmai National Park is the obvious first name because it solves the beginner’s hardest problem: reliable bear presence. The park covers about 4 million acres and is widely known for one of America’s largest concentrations of brown bears.[4] That does not mean bears are waiting like paid models, and it definitely does not mean every corner of Katmai is equally accessible. It means that if a beginner is going to spend serious money on a first attempt, Katmai has enough bear density, guide infrastructure, and established viewing behavior to justify being first on the shortlist.
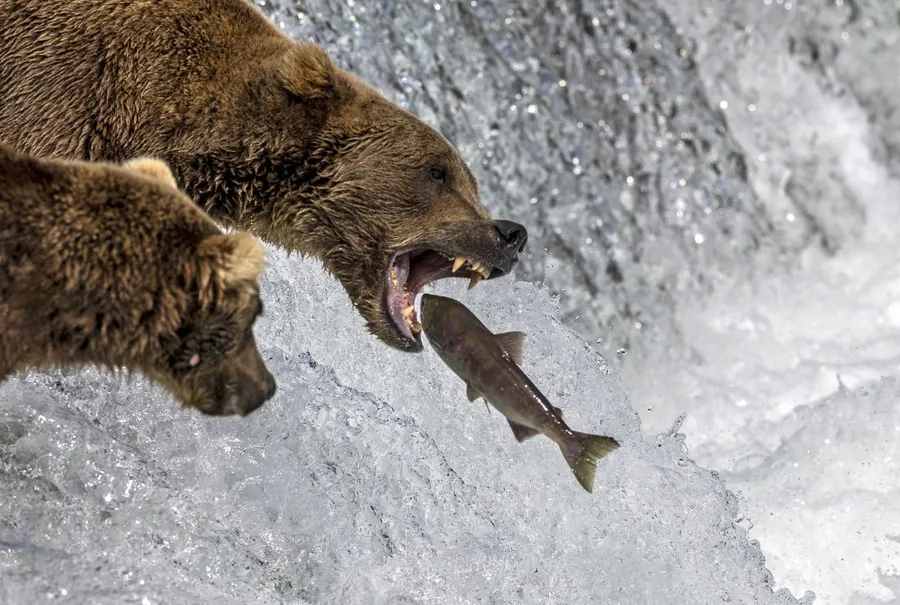
Within Katmai, Brooks Falls gets the famous salmon-leap photographs. It also gets the booking pressure. Brooks Lodge is not a normal hotel reservation where you simply decide early and pay; access to lodge space runs through a lottery system.[3] Beginners who want the Brooks experience should treat the lottery as one possible path, not as the entire plan. If the lottery fails, guided trips to other Katmai areas such as Hallo Bay or Geographic Harbor can still produce strong bear photography, often with fewer assumptions about navigating the place alone.
Lake Clark National Park is the other serious beginner option, especially around Chinitna Bay and Silver Salmon Creek. It may not have the single iconic platform image of Brooks Falls, but that can be a relief. Lake Clark trips often lean into coastal bear behavior: bears moving through sedge meadows, walking tidal flats, fishing, nursing cubs, or crossing shallow water. For a photographer who wants environmental images rather than only a salmon-in-mouth frame, Lake Clark deserves more than backup-plan status.
The practical difference is not “which park has better bears.” It is how you want the day to work. Katmai’s Brooks area can involve formal viewing platforms, timed access pressure, and a dense visitor system. Other Katmai and Lake Clark trips often depend more heavily on guides, tides, aircraft timing, beach landings, and local bear movement. A beginner who wants structure may prefer Brooks. A beginner who wants a guided coastal field experience may be happier in Lake Clark or a non-Brooks Katmai itinerary.
| Choice | Best fit for a beginner | Planning catch |
|---|---|---|
| Katmai: Brooks Falls | Classic salmon-jump images, structured bear-viewing system, famous location | Brooks Lodge lottery and crowd pressure |
| Katmai: Hallo Bay or Geographic Harbor | Guided bear photography with strong bear concentration and less reliance on the Brooks platform scene | Usually requires tour logistics and remote air access |
| Lake Clark: Chinitna Bay or Silver Salmon Creek | Coastal bear behavior, cubs, meadows, streams, and environmental images | Guide choice, tides, weather, and aircraft logistics matter heavily |
Pick the season by the photograph you want
“Summer” is too vague for Alaska brown bear photography. June, July, August, and September can all work, but they do not offer the same behavior, color, light, or risk of disappointment. The beginner sweet spot is mid-July through early August because it stacks several useful things at once: salmon activity, visible bear movement, and good chances of photographing sows with roughly 6-month-old cubs.[1]
June can be beautiful, and it can be productive, but it is not the safest generic recommendation for a first-timer chasing the classic salmon-and-cubs trip. Field guidance from Alaska Photo Adventures describes June around mating behavior and spring cubs.[1] That can create compelling photographs, but mating-season dynamics and early-season movement are not the same as the more familiar salmon-focused rhythm many beginners imagine when they picture Alaska brown bears.
July is where many first trips start to make sense. Salmon runs concentrate attention, bears have strong reasons to be near predictable feeding areas, and cub photography becomes more plausible. The mid-July to early-August window is especially useful for photographers who want behavior rather than a distant bear shape in good light.[1] It still is not a guarantee. Weather, salmon timing, lodge access, aircraft delays, and bear decisions remain in charge.
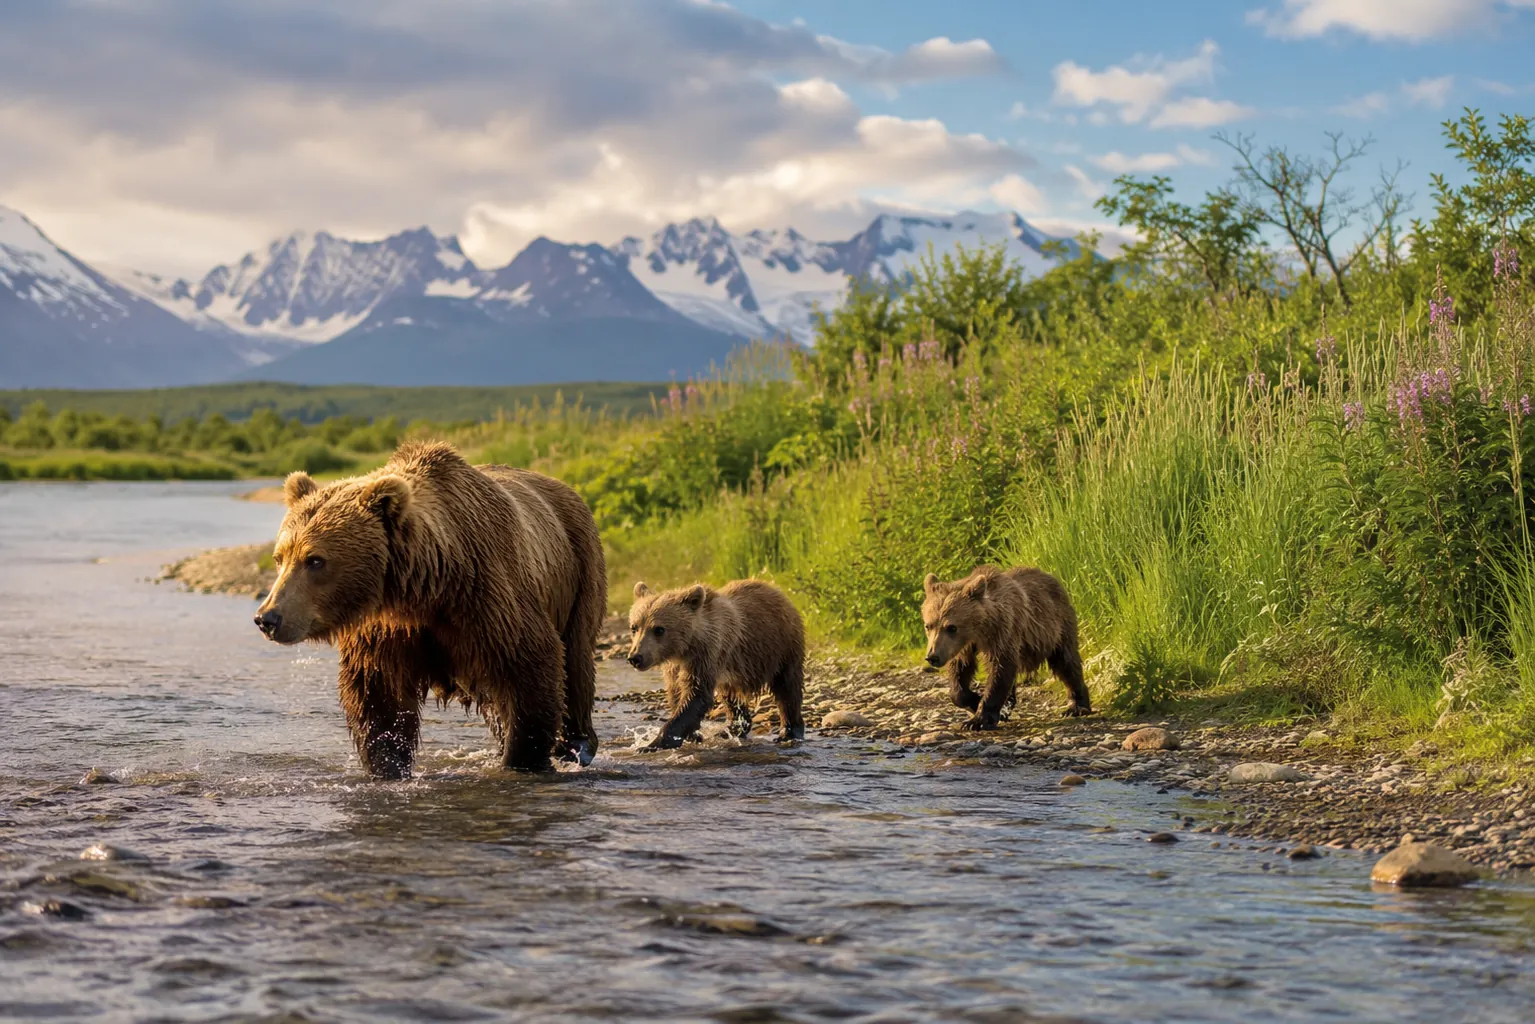
August begins to widen the look of the trip. Salmon can still matter, but early fall color starts to enter the frame in some areas, and bears keep feeding hard. By September, the draw shifts again: stronger fall color, berries, and more dramatic light become part of the appeal.[1] September can be excellent for photographers who care about mood and landscape context, but it is not the cleanest answer for a beginner whose main hope is cubs plus salmon action.
| Month | What tends to matter photographically | Beginner judgment |
|---|---|---|
| June | Mating behavior, spring cubs, early-season movement | Potentially rewarding, but less simple as a first default |
| July | Peak salmon activity, sows with young cubs, active feeding behavior | Best core month for many first trips |
| Early August | Continued bear activity, cub opportunities, first hints of seasonal change | Still inside the beginner sweet spot |
| Late August–September | Fall color, berries, lower-angle light, bears feeding before winter | Strong for mood and landscape, less ideal if salmon-and-cubs is the main goal |
Decide whether you are buying guidance or trying for Brooks access
There are two very different beginner trips hiding under the phrase “brown bear photography in Alaska.” One is a guided photography or bear-viewing trip where the operator handles much of the access, safety positioning, local timing, and field decision-making. The other is an independent Brooks Lodge plan, which may be cheaper in some versions but depends on lottery success and still requires careful transport planning. Those are not interchangeable experiences.
Guided trips look expensive because they are expensive. Current mid-2026 operator examples place guided brown bear photography trips roughly between $4,600 and $14,500, with price differences driven by trip length, aircraft logistics, lodging style, guide ratio, and whether the itinerary is built for general bear viewing or serious photography time.[1][2][3] That range should be treated as a planning bracket, not a quote. Alaska trip prices move, and availability often matters as much as the advertised rate.
What the guided price buys is not just someone pointing at bears. It buys local judgment before the shutter is ever pressed: when to move, when to wait, where aircraft can land, how tides affect the day, whether a bear’s path is likely to cross yours, and when a nervous group is creating a problem. For beginners, that judgment has photographic value. It keeps you from spending the best light in the wrong place, and it keeps you from treating a large predator like an inconvenient foreground element.
The Brooks Lodge route is different. It can be attractive because the location is famous and the bear-viewing infrastructure is established, but the lottery system means you cannot simply decide that Brooks will be your first brown bear photography trip and build everything around that assumption.[3] If Brooks is the dream, enter the lottery and build a second plan at the same time. A failed lottery should not leave you shopping for random last-minute bear access.
Floatplanes are not a colorful extra in this kind of trip. They are often the way the trip exists at all. Research examples include round-trip floatplane costs around $850, and that number should be checked again at booking because fuel, routing, weight limits, and operator schedules can change.[3] Beginners should also ask what happens when weather delays the flight. The important answer is not whether the operator sounds optimistic; it is who pays, where you sleep, and whether the itinerary has any slack.
A practical 2026 budget frame
- Guided bear photography tour: about $4,600–$14,500, last reviewed against operator examples in mid-2026.[1][2][3]
- Floatplane access: examples around $850 round trip, with current pricing to be verified before booking.[3]
- Independent Brooks plan: possible only if lodging/access dates work, including the Brooks Lodge lottery system.[3]
- Gear rental: often more sensible than buying a super-telephoto lens for one trip, especially if you already own a usable zoom.
- Weather buffer: not optional in remote Alaska planning, even when it is not listed as a neat line item.
Bring enough lens, not the most lens
A beginner does not need to arrive with a giant prime lens to take credible brown bear photographs. Multiple wildlife photography and bear-tour sources converge on the same practical range: a 100–400mm or 150–600mm zoom is the sensible starting point.[2][5][6][7] Those lenses give enough reach for portraits and behavior while still allowing the photographer to reframe when a bear moves closer within legal and guided viewing limits.
The 100–400mm option is easier to carry, easier to handhold, and friendlier when a bear is part of a wider scene. The 150–600mm option gives more reach for tight behavior and distant animals, but it is heavier and can be slower to manage from boats, beaches, platforms, or uneven ground. Either is more useful to most beginners than a rented exotic prime they have never practiced with.
Use the camera body you can operate without hunting through menus. Brown bear photography gives you enough to manage already: moving animals, rain, glare off water, other visitors, guide instructions, and the emotional effect of seeing a large predator closer than your nerves expected. A newer body with better autofocus helps only if you can use it calmly.
- Primary lens: 100–400mm or 150–600mm.
- Second lens: a modest wider zoom if your itinerary includes bears in landscape, lodge scenes, or aircraft views.
- Protection: rain cover, dry bags, lens cloths, and a way to keep batteries dry.
- Support: monopod or tripod only if your operator allows and the field setting makes it practical.
- Practice before travel: track dogs, birds, or moving cars at safe distances so panning and autofocus modes are not new in Alaska.
Safety is part of the photography plan
Brown bear safety belongs in the middle of the planning process, not as a nervous paragraph after the packing list. The animal sets the terms. Coastal brown bear males may reach 600–900 pounds by mid-summer and 1,200 pounds or more by fall, and field guidance describes bears as capable of speeds up to 30 mph.[1] Those numbers are not there to make the trip sound dramatic. They are there to kill the beginner fantasy that you can fix a bad decision by stepping back later.
Katmai has a specific rule that matters for photographers: National Park Service permit guidance cited in bear-photography reporting describes a 50-yard minimum distance from bears in Katmai viewing contexts.[3] Do not export that number casually to every bear-country situation. General NPS guidance for other parks commonly uses 100 yards for bears and wolves, and local rules vary by park, permit, platform, guide operation, and species context.[8] The correct distance is the rule where you are standing, plus whatever your guide requires.
Beginners also need a plain field vocabulary for bear mood, while remembering that body language is guidance, not a private translation service. Emerald Air Service’s fieldcraft summary describes a head-down bear as more relaxed, ears forward as alert, and ears back as agitated.[7] That helps you notice when the situation is changing. It does not authorize you to stay put because the pose looks photographically interesting.
On a guided trip, the cleanest safety rule is also the easiest to forget: do what the guide says the first time. If the guide asks the group to bunch together, stop shooting, back up, lower tripods, leave a feeding corridor open, or move without discussion, the photography session is already secondary. Other visitors are also part of the safety system. A photographer who blocks a platform, crowds a guide, or creeps forward for a cleaner background can create risk for people who did nothing wrong.
For broader bear-country preparation beyond photography logistics, StudyMethod’s safety articles are better suited to the evidence side of prevention and encounter response: Evidence-Based Bear Safety Tips for Hiking and Camping, Stay Safe in Bear Country by Separating Myth from Data, and The Bear Safety Decision Tree Every Hiker Should Know. Those pieces should support the trip plan, not replace local rules, guide instructions, or park-specific orientation.
The booking-ready version
If this is your first brown bear photography trip, the clean plan is simple enough to test against your calendar and bank account: choose Katmai or Lake Clark, aim for mid-July to early August if cubs and salmon behavior are the priority, assume a guided trip unless you are specifically pursuing Brooks Lodge access, and build the budget around remote Alaska transport rather than only the tour fee.
Then keep the gear boring. A 100–400mm or 150–600mm lens, a camera you know, rain protection, and practiced autofocus habits are enough to start. The trip becomes unrealistic when the access model is vague, the seasonal expectation is generic, or the photographer treats safety rules as obstacles to composition. If the location, timing, budget, and field protocol all hold together, a beginner can make a credible first brown bear photography trip without elite gear.
References
- Alaska brown bear photography seasonal guidance and tour information — Alaska Photo Adventures / Ron Levy — current as of mid-2026 — link
- Alaska brown bear photography tour and lens guidance — Chase the Light Adventures — current as of mid-2026 — link
- Brown bear photography at Brooks Falls and Katmai access reporting — Adorama / Melissa Findley — current as of mid-2026 — link
- Katmai brown bear concentration and park scale guidance — Nature TTL — link
- Wildlife lens recommendations for bear photography — David Swindler / PhotoTips.cc / Action Photo Tours — link
- Brown bear photography equipment guidance — Nick Dale — link
- Bear photography fieldcraft and equipment guidance — Emerald Air Service — link
- National Park Service bear distance guidance — National Park Service — link
Applies to
Exam applicability isn't specified for this technique yet. See all exam hubs.
Comments
Join the discussion with an anonymous comment.